In this tutorial, I will explain how to create custom profiles on Android. If you have ever used the old generation feature phones, then you might remember that they used to have profiles like General, Meeting, Outdoor, Silent, etc.. These profiles helped you to switch to different volume, ringtone, and other sets of sounds pretty easily. But in modern era devices, there are no such profiles, instead they just give you the option of turning off the volume or keeping it high.
To help you with this situation, I will tell you about an app using which you will not only be able to create multiple profiles as per your choice, but also be able to switch between them with just one tap. So, let’s get started.
Steps to Create Custom Profiles on Android:
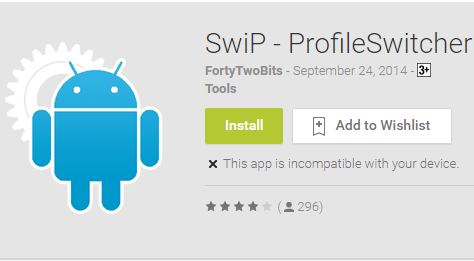
Step 1: Install SwiP – Profile Switcher on your Android device.

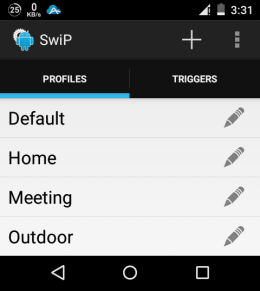
Step 2: Launch the app and you will see 3 profiles by default: Default, Home, and Meeting. You can also choose to edit them, but let’s see how to create a new one. Tap on the + icon at the top right corner.

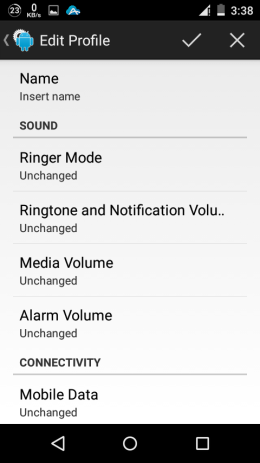
Step 3: You will get the interface to enter the name and 3 sections: Sound, Connectivity, and Display. Under each of them, there are respective options which you can set as per your requirement. For example: Sound section has Ringer Mode, Ringtone and Notification Volume, Media Volume, and Alarm Volume.

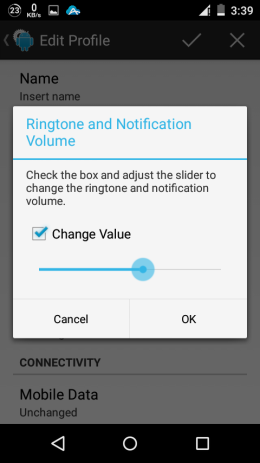
Step 4: Tap on the option you want to change and make the changes as per your requirement.

Step 5: When you’ve made all the changes, tap on the tick mark icon at the top right corner to save the profile.
This way, you can create multiple custom profiles with ease. Now whenever you would like to switch between the profiles, simply launch the app and tap on the profile name you want to use.
If you have any questions to ask, feel free to comment using the comments section below.
You may also like: How to Check Apps Connected to Google+ Profile on Android.