Wizer is a free website which provides and let you create interactive online worksheets for teachers, which can be used to educate students. Remember when we were in school our teachers used to give us worksheets with diagrams and we had to mark things on the diagram as a test. The worksheet diagrams would be either a map to mark countries on it, or a body diagram to mark body parts on it. They used to so much fun and learning in a visual way made us remember things easily. This website offers similar worksheets, but they are now online and interactive.
Teachers would need to sign up with the website to get started. Once you create an account with the website, you will be taken to your dashboard, where you can create a worksheet of your own or use worksheets created by other teachers. You can then share these worksheets with your students.
How to create interactive online worksheets:
If you want to create a worksheet of your own then you need to follow the following steps:
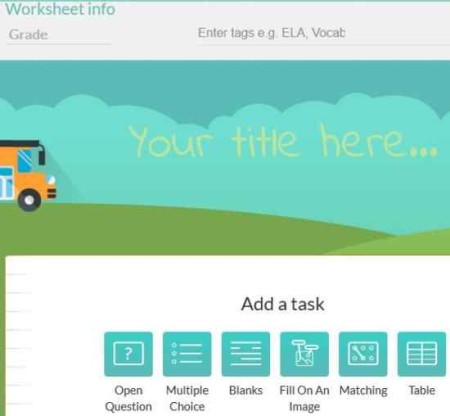
Step 1: Click on the Red Start now button on page or click the create worksheet tab at the top left of the page. This will open a page like shown in the screenshot below.
Step 2: Enter the grade for which you are creating this worksheet, add some tags related to your topic, add a title of the worksheet, then choose the type of worksheet you want to make from the options given like open question, multiple choice, blanks, fill on a image, matching, etc. I started with multiple choice question.
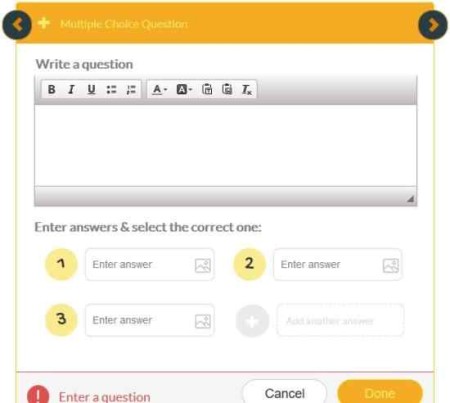
Step 3: Now as seen in the screenshot above, start creating your worksheet. You can add multiple questions in a worksheet and they all can be of different types. For example, if you select multiple choice for the first question, then you do not need to make all questions multiple choice, the rest of the questions can be of different types like blanks, fill on an image, etc.
In multiple choice questions, you need to enter your question and answer options for it. Then mark the correct answer and click on the done button to complete the question. You can also change the theme, font, color, etc. for the worksheet.
Step 4: When you have completed entering all the questions, click on the save button given in the right side panel.
Step 5: You can preview the worksheet if you like and can change order of the questions.
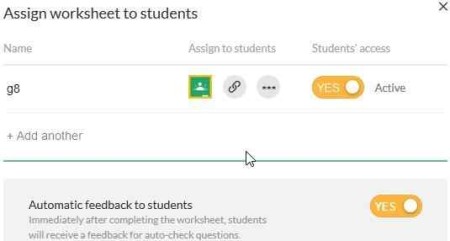
Step 6: Assign the worksheet to your students. Click on the assign to students tab on the top right side of the page. This will bring up a window like the one shown above. Here you can give a name to your worksheet and assign it to students by either sharing it through Google Classrooms, or copying the URL and sharing it with students via email, message, etc.
Students can then login using their name and a password to work on this worksheet. Once they submit their answers the worksheet can be accessed by the teacher. This way the teacher can keep a track on how the students are doing in their subject.
How to share interactive online worksheets created by other teachers:
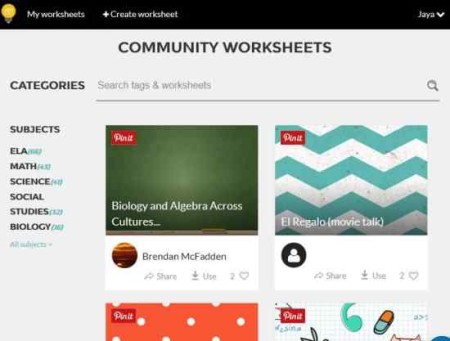
On the home page of this website below the start now button you will see “Community Worksheets” as seen in the screenshot above. These are the worksheets which have been created by other teachers and can be used by you easily.
Step 1: Browse through the community worksheets and select the one which you would like to give to your students. You can also search for a particular worksheet using the search box.
Step 2: Select a worksheet by clicking the “use worksheet” button. Once selected, you can make changes to it if you like. You can add or delete questions from the worksheet, change theme, font, color, etc. You can also change the order in which the questions appear.
Step 3: Save the worksheet and click on the assign to students link.
Conclusion:
Overall, it is a good website for teachers to create and share interactive worksheets. The worksheets can be assigned to students and progress of the students can be checked easily.
Check out Wizer here.


