This tutorial explains how to turn off Windows SmartScreen in Windows 10.
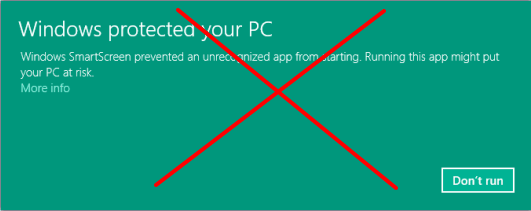
You must have noticed that when you run some setup file or try to install some unknown application, a pop-up opens “Windows protected your PC……” preventing you to run or install that application. This happens because of SmartScreen feature of Windows 10, which alerts you when you run some unknown application. Although you can still run the application by accessing ‘More info’ and using Run anyway option in that pop-up, but if you want to completely disable that annoying pop-up, it can be done easily.
Windows 10 provides an option to turn off Windows SmartScreen after which that pop-up won’t visible again. You can also turn on the feature again whenever you want.
You can also read:
- How to Uninstall a Particular Windows Update in Windows 10
- How To Clear Thumbnails Cache In Windows 10
- How To Change Save Location of New Apps In Windows 10
How To Turn Off Windows SmartScreen In Windows 10?
These are the simple steps you need to follow:
Step 1: Access Win+X menu or use Search box to open Control Panel.
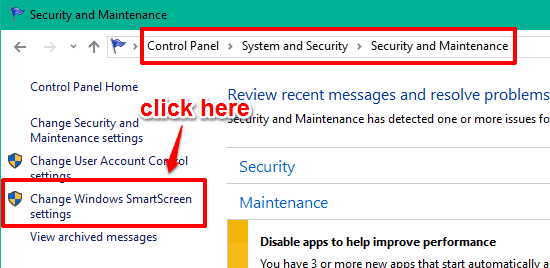
Step 2: Go to System and Security → Security and Maintenance. It will help you access “Change Windows SmartScreen settings” option.
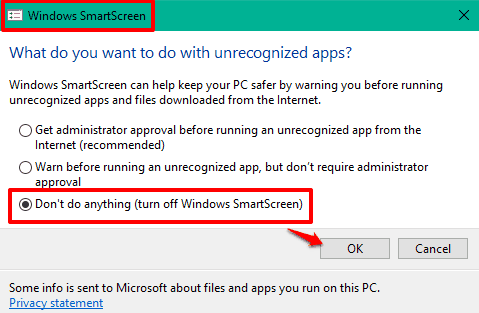
Step 3: Click that option and Windows SmartScreen window will open. In that window, you will find “Don’t do anything (turn off Windows SmartScreen)” option. Select that option and press OK button.
That’s it! Windows SmartScreen is turned off and it will not annoy you with that pop-up anymore. Anytime you need to turn on Windows SmartScreen, repeat the above steps and change to Get administrator approval….. option.
Conclusion:
Although Windows SmartScreen is helpful to alert you before you run any unrecognized application, but if you feel you don’t need this option, then it is better to turn off Windows SmartScreen. You can take the help of this tutorial to easily perform this task.


