Screen Sniper is a free bulk screenshot utility for Windows which allows you to create screenshots rapidly just by hitting a keyboard shortcut. Screenshots that are created are screenshots of entire desktop, and they are gonna be saved automatically to your hard drive at a location that you specify and in both the image format and quality that you set.
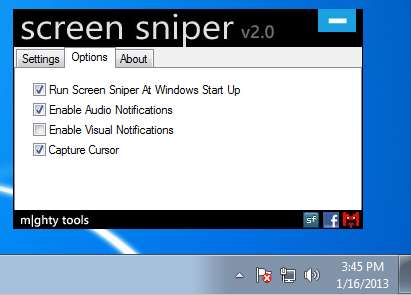
Interface of this free screenshot utility can be seen on the image above. This control panel is everything that you’re gonna see from it. Here you’ll be adjusting settings, and when you’re done with that, Screen Sniper can be minimized to the system tray. Key features of this free bulk screenshot utility with automatic save function are:
- Free, easy to use and very lightweight on the system resources
- Creates rapid screenshots and automatically saves them
- Trigger the screenshot taking using keyboard shortcuts – adjustable
- Change image format and quality – JPEG, GIF, BMP, TIFF supported
- Available qualities are: Lowest, Low, Normal, High and Maximum
- Minimizes to the system tray icon so it’s not in the way
Default screenshot utility of windows is limited in the way it works, which you are probably aware of. Screenshot can be created, but it will only be saved to the clipboard from where you have to export it to Paint, or some other image editing software. With Screen Sniper you can also do that, but at the same time you are able to save images automatically by typing keyboard screenshots.
Similar software: My Screen Capture, Grabilla, Desktop Hunter
How to create bulk screenshots and automatically save them with Screen Sniper
First thing you should do is go over the settings. As you can see from the control panel snapshot above, these would be the first two tabs. Select the Save Folder, Hotkey that you want to use to create screenshots, change image format and quality to your liking and down below decide if you want image stored to clipboard only. Move over to the second tab, where additional Options are available. There you can change things like screenshot notification, capture cursor and so on.
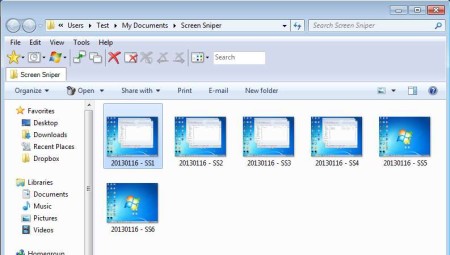
Once you go over all these things, hit the keyboard shortcuts that you’ve setup and if you haven’t turned off notification, screen grab of your desktop will be saved right away to the selected target directory. Press the keyboard shortcut again and again, and every time new screenshot will be made.
Now you just need to take the images that were created and use them for whatever purpose you might need. For a new batch of screenshots, use the keyboard shortcut again.
Conclusion
Screen Sniper will create unlimited number of screenshots, and it has no problems keeping up with you, no matter how fast you type the selected keyboard shortcut for creating screenshots. As you can see from what we showed and described above, this free bulk screenshot creator isn’t very difficult to setup. Everything is available by simply right clicking on the system tray icon and selecting Show Screen Sniper. If you need bulk screenshot utility, which will create rapid consecutive screenshots at the press of the keyboard, this is the tool for you. Free download.


