There’s no debating the fact that Windows 10 is probably the most exciting Windows version ever, jam packed with all kinds of incredible features. These include everything from visual refinements to under the hood enhancements. With that being said, there are some Windows 10 features (especially apps) that require you to sign in with your primary (Microsoft) account, so that the account information (e.g. name, picture) can be used to personalize content. And while that’s required for a better overall user experience, there might be users who find it a little concerning from the privacy perspective.
Not to worry, as Windows 10 easily lets you prevent apps from accessing your account information. Sounds like something you can use? Head past the jump to know how to disable account info access by apps in Windows 10.

How To Disable Account Info Access By Apps In Windows 10?
The video embedded below gives a detailed look at how you can disable apps from accessing account information in Windows 10:
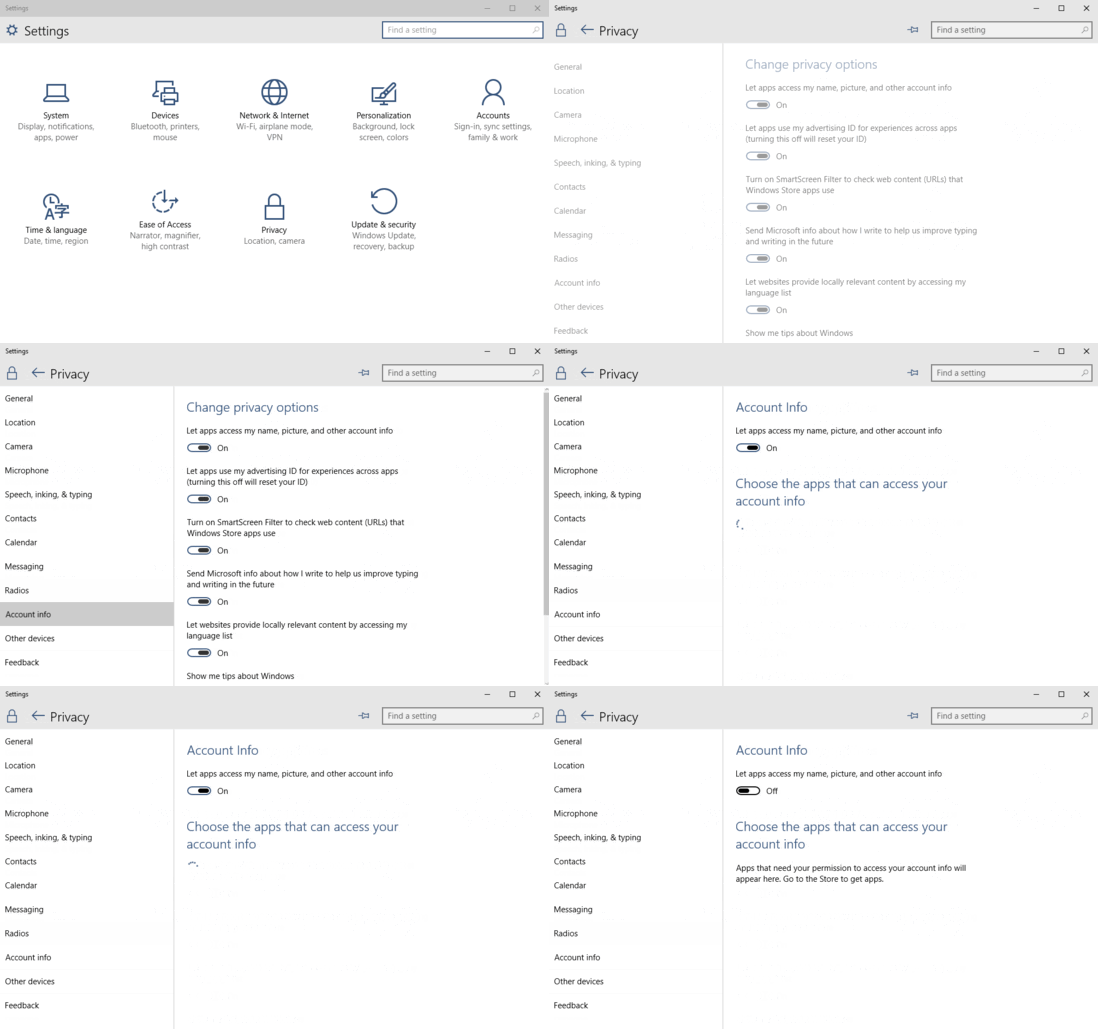
Preventing apps from accessing account information (name, picture etc.) in Windows 10 is ridiculously simple. A few mouse clicks here and there, and it’s done. Check out the following step by step walkthrough (of course, accompanied by those great illustrative screenshots) to get the hang of it:
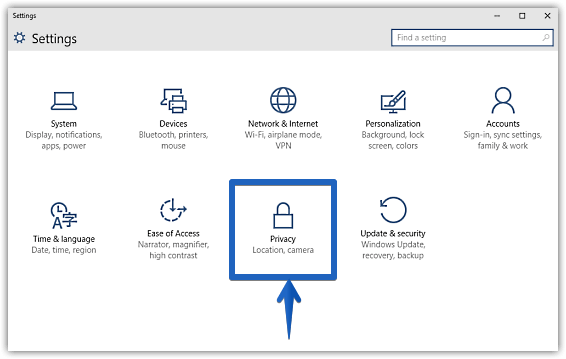
Step 1: Launch the modern Settings app, and click on the Privacy sub-category.

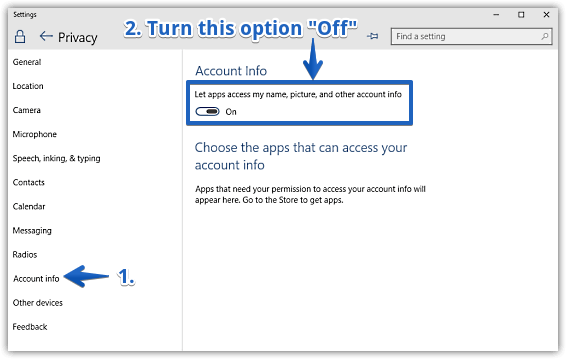
Step 2: The Settings app sports a familiar looking dual pane layout, listing primary sub-options on the left, and the selected option’s associated settings on the right. Click on Account info, and move to the right. Finally, turn the virtual toggle corresponding to the Let apps access my name, picture, and other account info text to Off. Here’s a screenie:

Voila! That’s it folks. From now on, none of the apps will be able to access any of your (Microsoft) account information. Told you it was simple.
Also See: How To Disable Aero Snap In Windows 10
Wrap Up
Granting account info access to apps is essential for getting the best out of (most of) them. However, if you’d like to disable it due to privacy concerns, you can use the steps detailed in the tutorial above. Try it out, and let me know what you think in the comments below.