As I’ve said in a number of my recent Windows 10 focused write-ups, the freshly minted Windows 10 is chock full of incredible productivity enhancing features. And one such hugely useful feature is Aero Snap. Introduced a couple of versions back, Aero Snap in Windows 10 is better than ever, further including things like Snap Assist, which let you multi-task like a pro. But what if you’re not that much of a power user, and would rather have the feature turned off?
Looks like your wish has been granted, as Windows 10 lets you do just that. And it’s super simple. Can’t wait to know more? Head past the break to find out how you can disable aero snap in Windows 10.

How To Disable Aero Snap In Windows 10?
Turning off aero snap in Windows 10 is a walk in the park, and takes nothing more than a few clicks to get done. Mentioned below is a step by step walkthrough (of course, with illustrative images), explaining the whole thing. Read on:
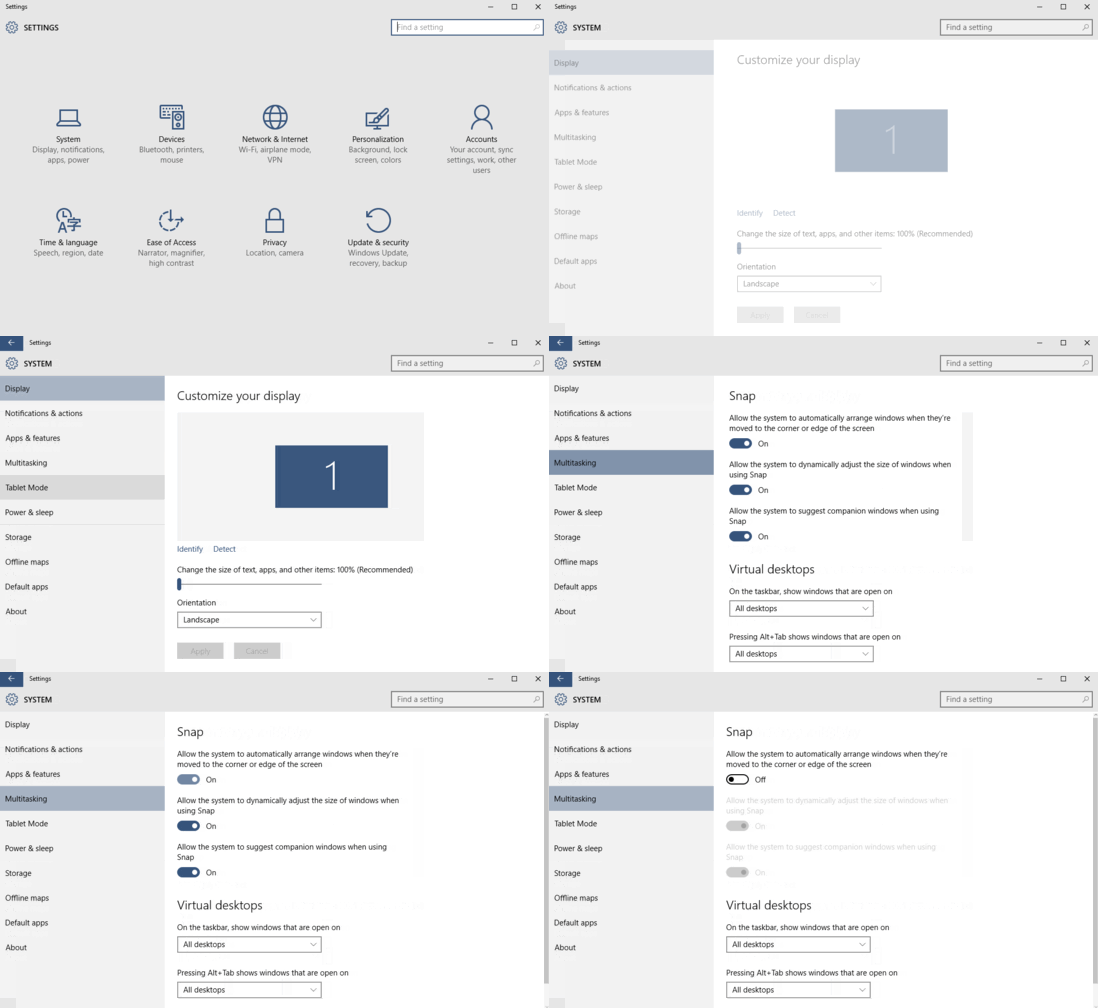
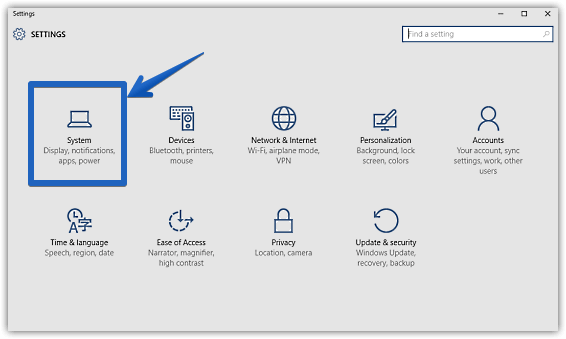
Step 1: Launch the modern Settings app, and click on the System sub-module.

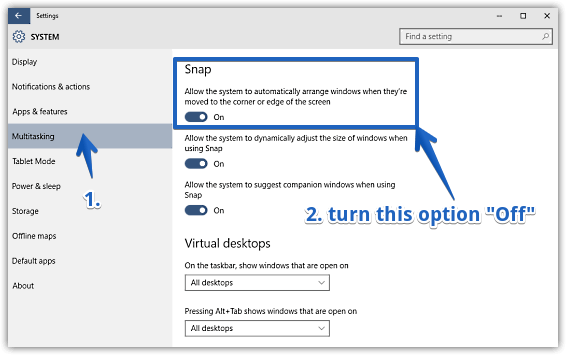
Step 2: As you most certainly already know, a bunch of settings will now be listed in the left column. Click on Multitasking, and jump over to the right column. Finally, under the Snap section, turn the first virtual toggle, corresponding to the words Allow the system to automatically arrange windows when they’re moved to the corner or edge of the screen to Off. As you do that, the other two virtual toggles below the first one should become unavailable as well. Check the screenie down below:

There you have it folks. You’ve successfully disabled aero snap. Wasn’t that hard, right?
Also See: How To Use Snap Assist In Windows 10
Wrapping Up
Being the latest version of Windows out there, Windows 10 offers more goodies than you can count, and the awesome aero snap functionality is one of them. However, if you’re not that much of a heavy PC user, and would rather keep things a bit on the simpler side, you can easily turn off aero snap, as detailed above. Try it out, and let me know your thoughts in the comments below.