Picture Booster is a completely free picture editor for Windows 8 that allows you to edit pictures that are stored on your computer with complete ease. This picture editor for Windows 8 has a well designed interface that allows you to do image editing in a touch optimized interface that also works well with the traditional controllers.
This picture editor for Windows 8 allows you to get local images or capture pictures via the camera and then edit them in a simple to use UI. So if you are in need of a good picture editor for Windows 8 then try out Picture Booster from the link posted at the end of this article.
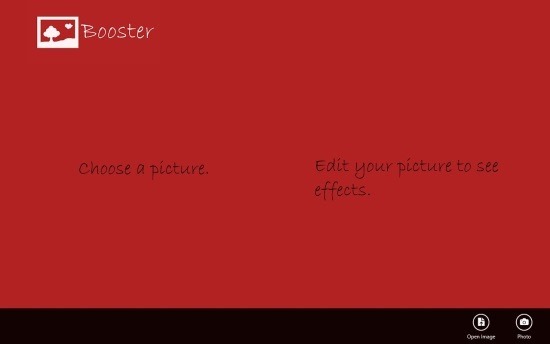
The link shall re-direct you to the Windows Store from where you can download and install this picture editor for Windows 8 onto your computer. After installation, run Picture Booster from the start screen and you will be greeted with the interface as shown below in the screenshot. To get started, just click on the any of the option provided in the lower right part of the app window; one allows you to open up an image and edit them and the other allows you to capture the image from the webcam and then edit it.
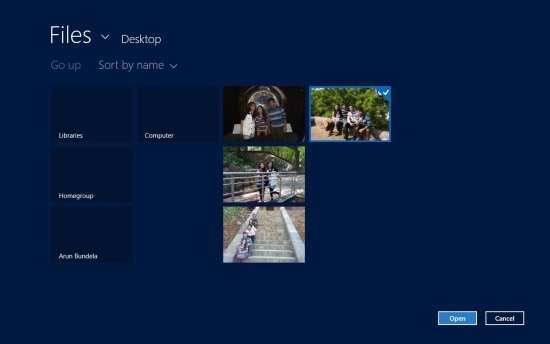
After you have clicked on the ‘open image’ button from the provided link, an interface as shown below shall come up that will allow you to browse the computer’s storage for image of your choice and open it up in the app. After you have found a picture of your choice, simply click on it, and the picture will be selected; now all you need to do is click on the ‘open’ button.
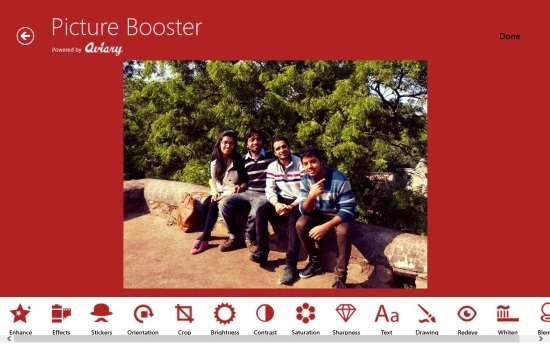
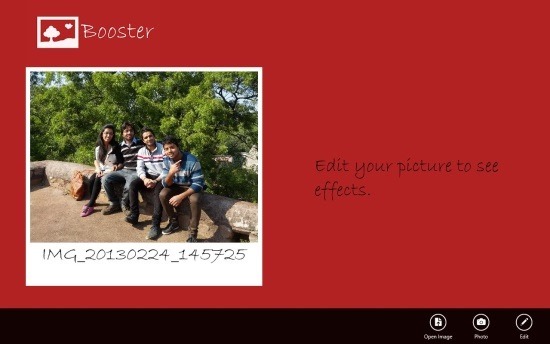
The action performed above will open up the interface as shown below in the screenshot; you can see that the image is shown along with the image’s name. Click on the ‘edit’ button to start editing the picture that you just opened up. After you have clicked on the ‘edit’ button, you will be taken to the interface as shown in the first screenshot of the post. There you will be provided with all the editing options in bar located at the bottom of the app window. Here you are provided with the ability to enhance, crop, rotate, add stickers, add effects, change brightness, change saturation, change contrast, draw etc. in a simple and touch optimized interface.
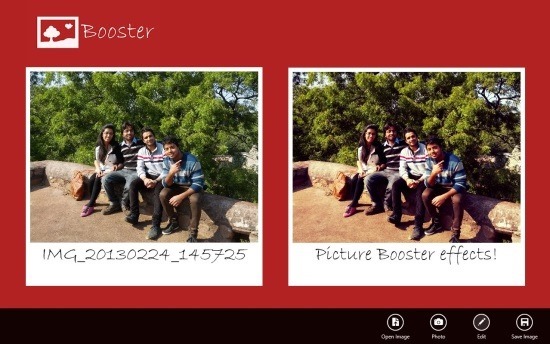
After you are done editing an image, simply click on the ‘done’ button and you will have the app window in front of you as shown below in the screenshot. Here you will be presented with the original and the edited image alongside each other as clearly seen below. Now to save the image, simply click on the ‘save image’ button which is located on the lower right corner of the app window.
If you are in need of a easy and effective picture editor for Windows 8 then try out picture booster by clicking here. Also try out other popular picture editor for Windows 8 by clicking here.
