There’s a whole bag-load of impressive features stashed into the latest and greatest Windows 10. Universal apps, a powerhouse Start Menu, Cortana; what’s there not to love? But apart from all of these, there are also small but useful functionalities sprinkled throughout the OS.
One such feature, that has been a part of previous major versions of Windows as well, lets you rotate the entire display. This can come in really handy in situations when you want to use Windows 10 in non-standard orientation (e.g. portrait). All set to have some fun? Well then get over to the flip side of the break, and find out how to rotate computer screen in Windows 10.

How To Rotate Computer Screen In Windows 10?
Changing the screen orientation is a trivial thing in Windows 10. A little clickety-clack of the mouse left and right, and you’re ready to roll. Here’s an exhaustive, graphically enriched tutorial, that should more than suffice in getting this done in no time. Read on, folks:
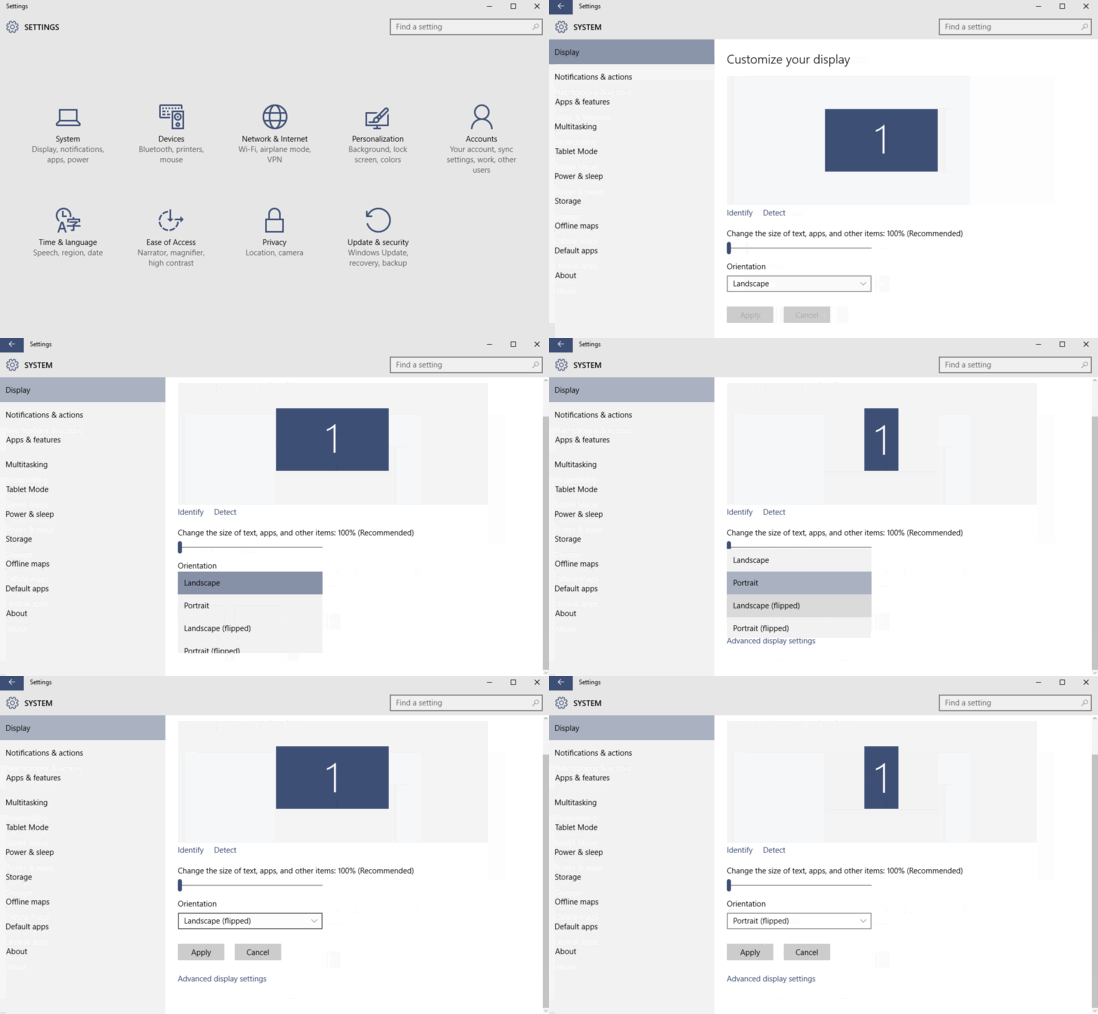
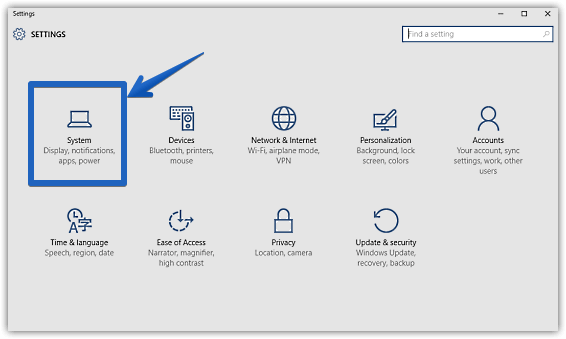
Step 1: Once you’ve fired up the modern style Settings app, click on the System sub-category to proceed.

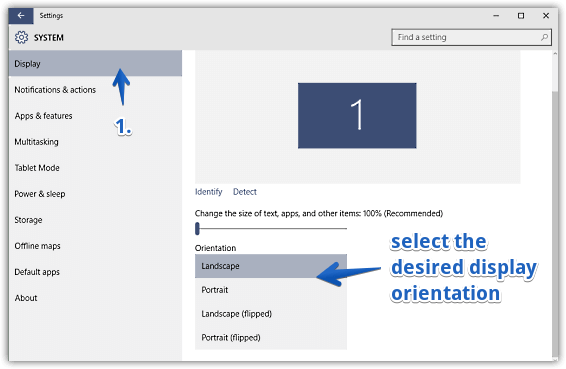
Step 2: As is always the case, a number of options will now be displayed in the left column. Click on Display (if not already selected), and head to the bigger right pane. Lastly, use the drop down menu corresponding to the Orientation option to select the desired screen orientation. You can choose from four display modes – Landscape, Portrait, Landscape (flipped), and Portrait (flipped). Hit the Apply button. Check out the screen grab:

That’s all there’s to it. You’ve successfully tinkered the desktop screen orientation in Windows 10. That wasn’t so hard, right?
See This: How To Change Time Zone In Windows 10?
Wrapping Up
The ability to change the screen resolution is a simple, and even fun little feature of Windows 10.Give it a spin, and let me know what you think in the comments.