Installing the Operating System is one of the elementary steps of getting a computer up and running. Thankfully, the Windows line of Operating Systems has always been pretty easy to set up, and the freshly minted Windows 10 is no different. Amongst the handful of things needed to properly configure the OS, one very important is the system time zone. That’s because with the system time, it’s also important to have the daylight saving time (DST) configured correctly.
Not a problem, as Windows 10 makes it incredibly simple to set/change the system time zone. Intrigued? Let’s find out how you can change time zone in Windows 10.

How To Change Time Zone In Windows 10?
Configuring the correct time zone for your computer’s clock in Windows 10 is ridiculously straightforward. Read on the following explanatory walkthrough, complete with screenshots, and things should get even easier:
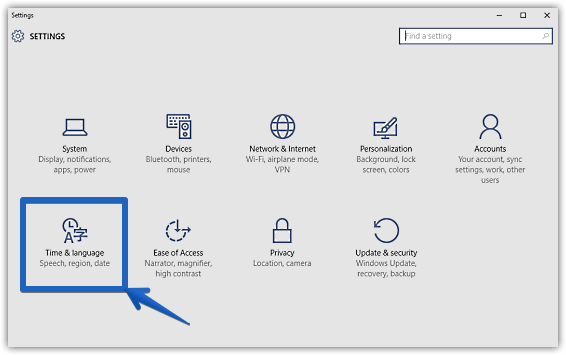
Step 1: You know that the modern UI Settings app has to be started up, before you can tweak pretty much anything in Windows 10. So once that’s out of the way, click on the Time & language sub-category.

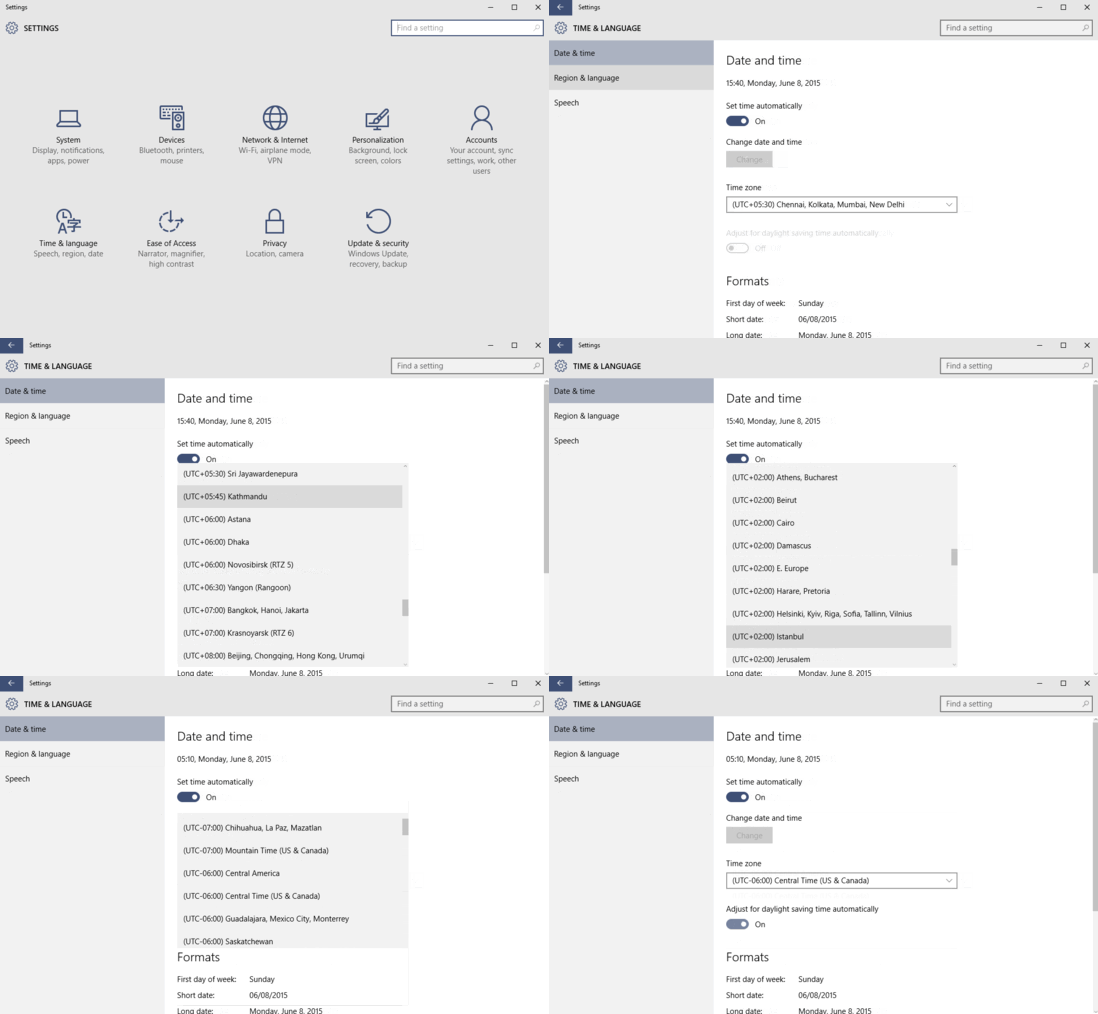
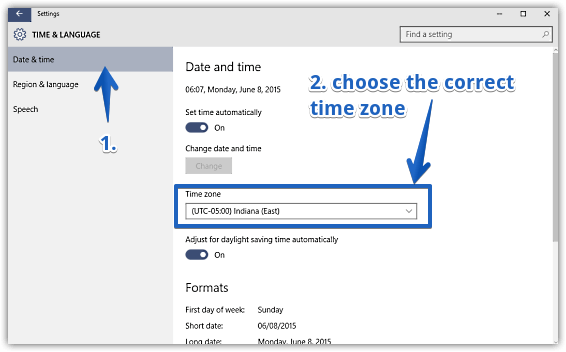
Step 2: From the options on the left, click Date & time (if not already selected), and head over to the right. Under the Date and time sub-section, you’ll see the Time zone option. Simply use the drop-down menu to choose the proper time zone. It’s also important to note that if you select the time zone for a country that observes daylight saving time (DST), the setting Adjust for daylight saving time automatically will become available as well, and can be toggled On/Off. Here’s a graphic:

That’s it. You’ve successfully configured the time zone for your Windows 10 system. Easy-peasy!
Do Check Out: Hide Taskbar App Icons In Tablet Mode In Windows 10
Wrapping Up
Setting up the time zone is an essential part of getting the system up and running, and as seen above, Windows 10 makes it easier than ever. Try it out, and let me know if you run into any issues.