This tutorial demonstrates how to download all images from Slack channels in bulk. After going through the steps in this tutorial, you will learn the way to easily download all the images which you have in any of your Slack channels to your PC. If you’re a Slack user then you might have noticed that there is an “Export” option in Slack using which you can download your data. But, when you use this option it doesn’t actually exports your images but instead the links to the images shared in channels. So, to overcome this annoying export feature of Slack, I have found this method using which you can now download all the images to your PC from Slack channels.
For this, I will use a free software called “ODrive” which allows you to sync all your cloud storage in one single place. What happens is when you connect any cloud storage or web service to ODrive, it turns the service into a folder and the files of that particular service will be accessible inside the folder on your PC. And we will use this feature to download all Slack Images to PC.
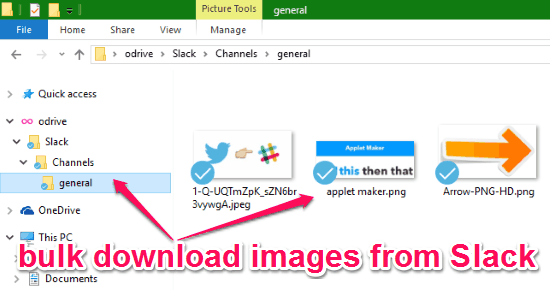
So, today I will use ODrive to connect my Slack account and then download all the images in bulk to my PC. I will also explain all the steps required to do the same such that you can also get all your images from Slack with ease.
How to Bulk Download All Images from Slack Channels:
Step 1: To get started, the first thing you need to do is install ODrive desktop client on your PC. After that, you’ll be able to see an “ODrive” icon in the system tray which you need to click and select the option “Set up ODrive”. When you do that, it will open up a browser tab and ask you sign in to “ODrive” using the credentials of either Google, Facebook, Dropbox, Microsoft, etc.

Step 2: After you’re in, it will guide you through some of the important features of ODrive and then you will see a button named “Open ODrive Folder”. Simply click on the button and it will automatically add a folder named, “ODrive” under the “Favorites” section on the left navigation pane. Now, simply click on the icon in the system tray and then select the option “Manage Storage”.
![]()
Step 3: After that, it will open up another web page where you can add new storage services such as Google Drive, Amazon, Slack, etc. To add a service, click on the “Link Storage” button under the “Storage” tab. Then you will see all the supported services from where you need to select Slack.

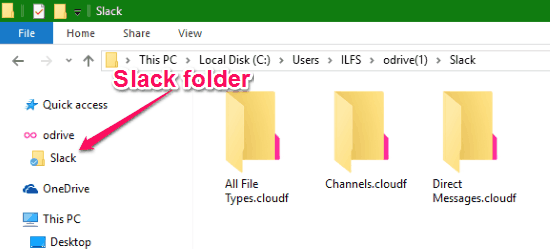
Step 4: When you do that, it will ask you to sign in to your Slack account and authorize ODrive to use your information. After you’re done linking your Slack account, you need to again click on the icon in the system tray and this time select the option “Open ODrive Folder”. It will open up the “ODrive” folder from the left navigation pane and you will see a folder named, “Slack“.
Step 5: Now, what you need to do is simply double-click on the “Slack” folder and you’ll see three sub-folders named, All File Types, Channels, and Direct Messages. Now, you can again double-click on the “Channels” sub-folder to see all your Slack channnels which are also displayed as sub-folders.
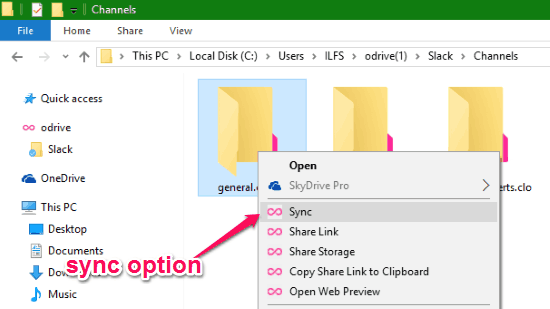
Step 6: Let’s say you have a Slack channel named, “General” and you want to bulk download all the images from that channel, then all you got to do is right-click on the channel and select the option “Sync” from the context menu.
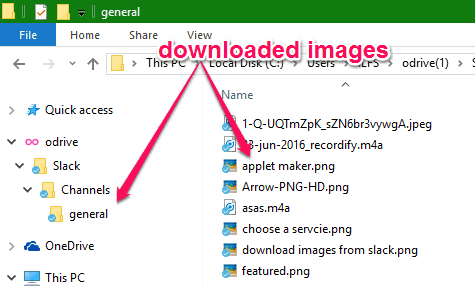
As soon as you do that, it will automatically download all the images which were shared inside this channel. You can simply browse the images and use them as normal images on your PC. Apart from images, this will also download audio files, documents, etc. which you might have shared in that particular channel.
My Final Verdict:
If you’re looking for a way to bulk download all images from any of your Slack channels, then the method explained in this tutorial is probably the best option for you to do that. For this, all you got to do is install “ODrive” on your PC and your images from Slack will be downloaded and become accessible instantly.