Bar Graph Creator for Windows 8 is a simple little app that is found in the productively section of Windows Store. As it’s name clearly suggests the app allows you to create bar graphs on your Windows 8 device. 
The app provides you with an easy way to create graphs that can be used to show various kind of data and information graphically. The app allows you to create graph, change the graph name, axis name etc., also the app provides you with 16 color that can be used to display the bar in the graph. The app is extremely simple to use and we will go through the how to part of the app in the later part of the article.
One thing that puzzled me was that after you have created the graph with Bar Graph Creator for Windows 8 you can display it to others within the app but there is no option within the app itself that allows you to save the graph that you have created. The most simple solution to this problem would be taking a screenshot of the app after the graph has been completed. If you are in a hurry and want to make simple bar graph quickly then try out Bar Graph Creator for Windows 8.
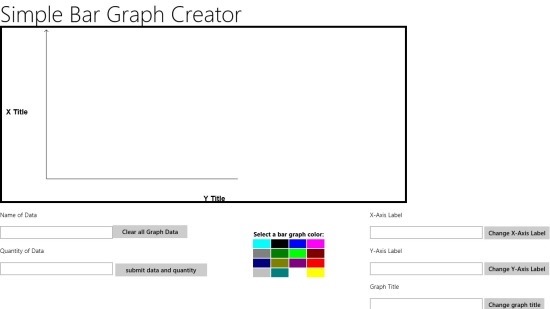
You can download Bar Graph Creator for Windows 8 from the link provided at the end of the post. After you have managed to install the app from the Windows Store just run it and you will have the interface in front of you as seen below.
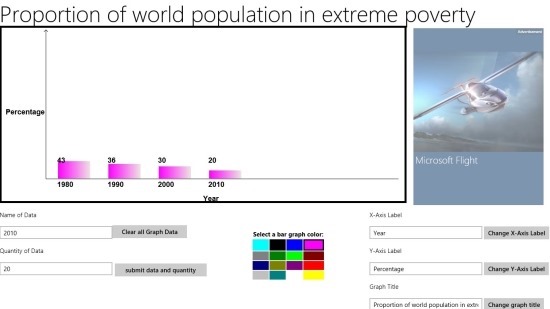
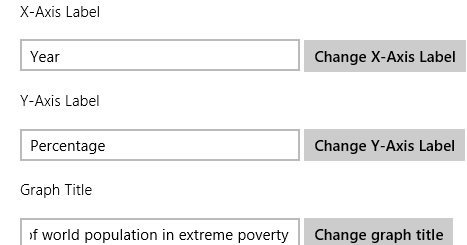
Everything will be blank when you open up the app as it can be seen in above screenshot. To get started with making of a graph the first thing that we should do is name the graph and the two axis. To do this just fill the details in the lower right part of the app as shown in the screenshot below. As an example here I am going to take the graph about poverty. After you have entered the X-Y labels and Graph Titles you will need to click on the Change button located just besides each of the field to show it in the graph.
The next and obvious thing to do is start adding the data to the graph. To do so just add the name of Data, it’s quantity, and the color which you would like to use to represent the data item. After you entered the details about the data item now all you need to do is click on the “submit data and quantity” button. In this manner you can keep adding the data to the bar graph until you have completed your graph.
Also if you have no use of the graph that you had created earlier and now you would like to create a new one then just simply click on the “clear all graph data” button. Which can be clearly seen in the above screenshot.
If you would like to create a simple bar graph quickly in Windows 8 then download and try out this free Bar Graph Creator for Windows 8. To download Bar Graph Creator for Windows 8 click here. Also try out SeeData an app for Windows 8 that allows you to create pie charts also.

