There is a whole laundry list of incredible goodies that make Windows 10 the powerhouse of an operating system that it is, and accessibility features are one of the most important of these. And the reason is simple. That’s because these make using the PC even easier. One such accessibility feature is Filter Keys, which enables the keyboard to ignore brief or repeated key presses. This can also be used to configure the rate at which repeated key strokes are registered. The question is, how do you enable it?
Not a problem, as that’s exactly what you’ll be able to do, once you’re done reading this article. Sounds like fun? Well then without further ado, let’s take a detailed look at how you can enable filter keys in Windows 10.

How To Enable Filter Keys In Windows 10?
Turning on Filter Keys is a pretty straightforward task, and takes no more than a few seconds, along with a couple of mouse clicks. Check out the following illustrative walk-through that explains how to get things rolling, in simple, clearly laid out words:
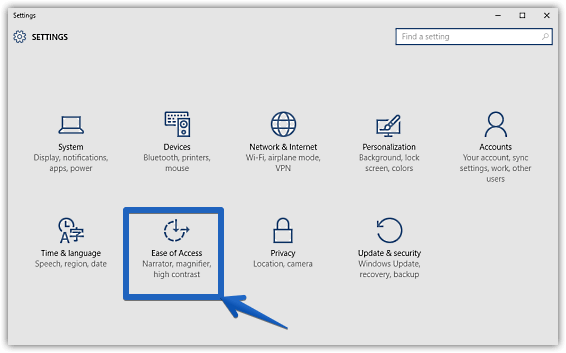
Step 1: Once you’ve got the modern UI Settings app up and running, click on the Ease of Access sub-category.

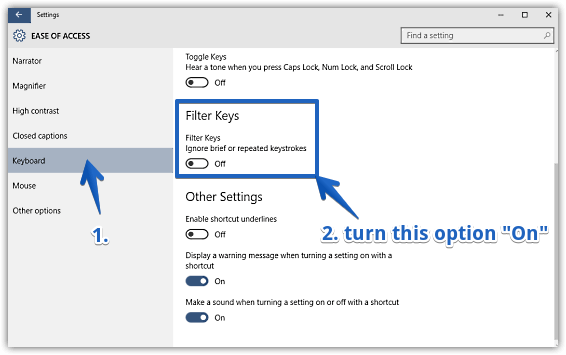
Step 2: A few options will now be listed on the left. From these, select Keyboard, and move to the right. Now, scroll down to the Filter Keys sub-section, and turn the virtual toggle corresponding to it to On. Here goes a screenie:

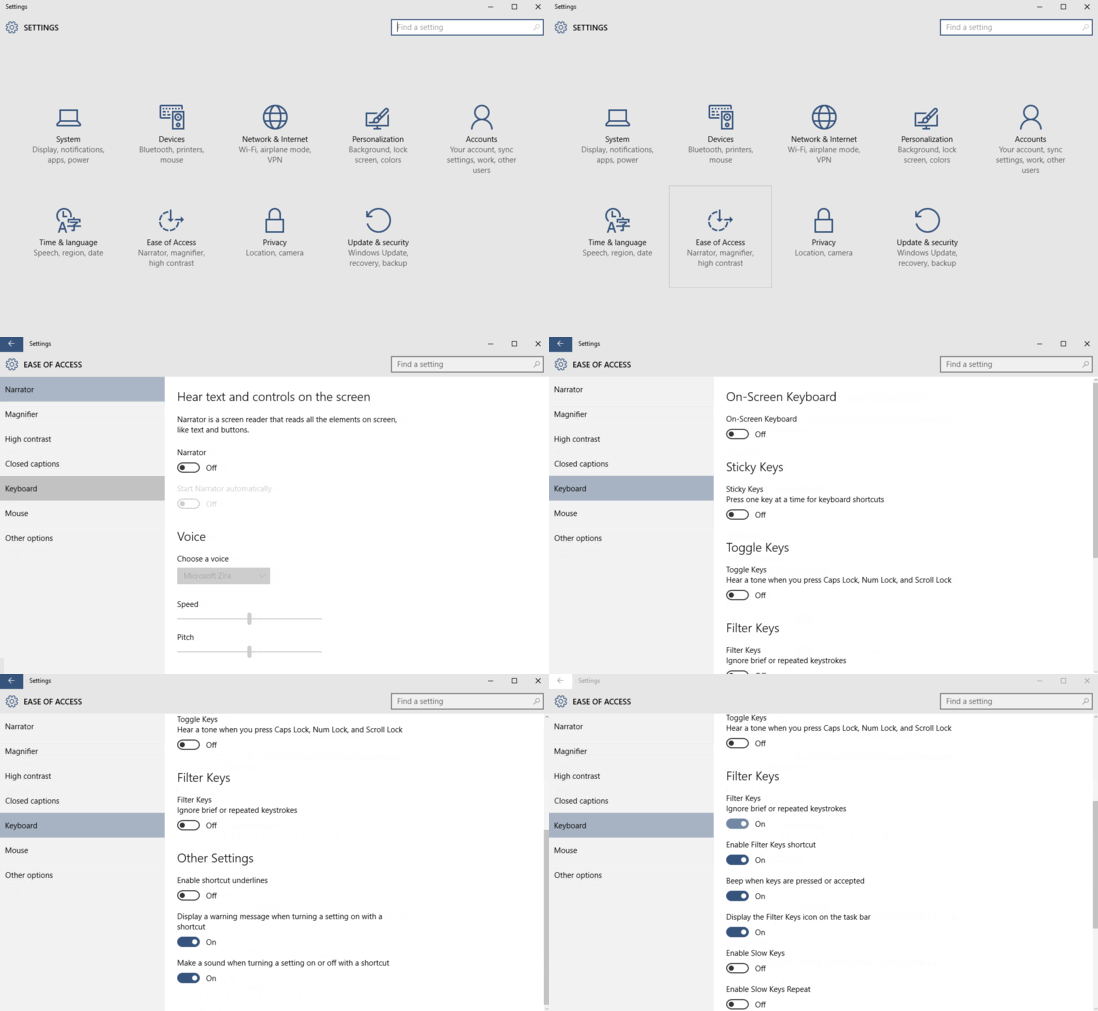
Voila! You’ve successfully turned on Filter Keys. It’s also important to note that once Filter Keys are enabled, a bunch of other related options also become available. These let you enable shortcuts for Filter Keys, configure sound notifications, enable slow keys, and a heck of a lot more. Pretty awesome, don’t you think?
You Might Want To See: How To Enable Sticky Keys In Windows 10?
Concluding Thoughts
Filter keys are a simple but a fairly useful accessibility feature of Windows 10. And as seen above, using it doesn’t really take much effort. Take it for a spin, and let me know how that works out for you.