This article covers a web service to create RESTful JSON API using Google Sheets as database. The RESTful API is based on Representational State Transfer (REST) technology. Similar to the web services development, a RESTful API uses HTTP requests to GET, PUT, POST, and DELETE data. It uses GET to retrieve a resource, PUT to update a resource, POST to create a resource, and DELETE to remove that resource. This makes it easy to access a database without dealing with SQL queries.
SheetAPI is a web service that allows you to use Google Sheets as a database with the help of RESTful API. With this service, you can create a RESTful API and connect it with Google Sheets with a defined schema for the database. You can also change the endpoint permissions whenever you want and control the API functionality. After creating the API, you can simply use the JSON syntax with CURL to access the database anytime anywhere.
The free-tier of SheetAPI allows you to create two spreadsheet APIs. The monthly API requests are limited to 300 and you can get full control over the endpoint permissions. With that said, let’s get into it.
Also read: Google Sheets add-on to Import, Extract API Data into Google Sheets
Create a RESTful JSON API using Google Sheets as Database
To create a RESTful JSON API, visit the SheetAPI website and signup using your Google Account. When you do that, it asks you for Google Drive permissions. The permissions are necessary since the service has to create a spreadsheet on your Google account and have to access it for API calls. Once you allow the permissions, it takes you to the dashboard where you get an overview of your API rates and endpoints.

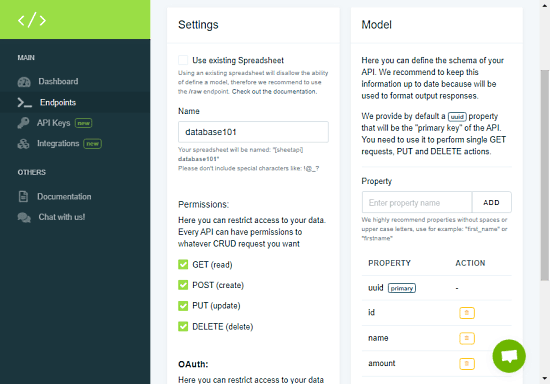
From the dashboard, navigation to the “Endpoints” section from the menu panel on the left and click the “Create” button from the top right corner to create a new endpoint. Simply add a name for the endpoint and choose the permissions as per your needs. Then add the schemas for the Google Sheets database one by one with the “Property” function like name, age, or whatever type of database you want to create. Creating an endpoint creates Google Sheets on your Google account, connects it with the Sheet API, and gives you an API URL. At this point, the Google Sheets is ready to store the data. So, the next step is to create an API and POST the data there.

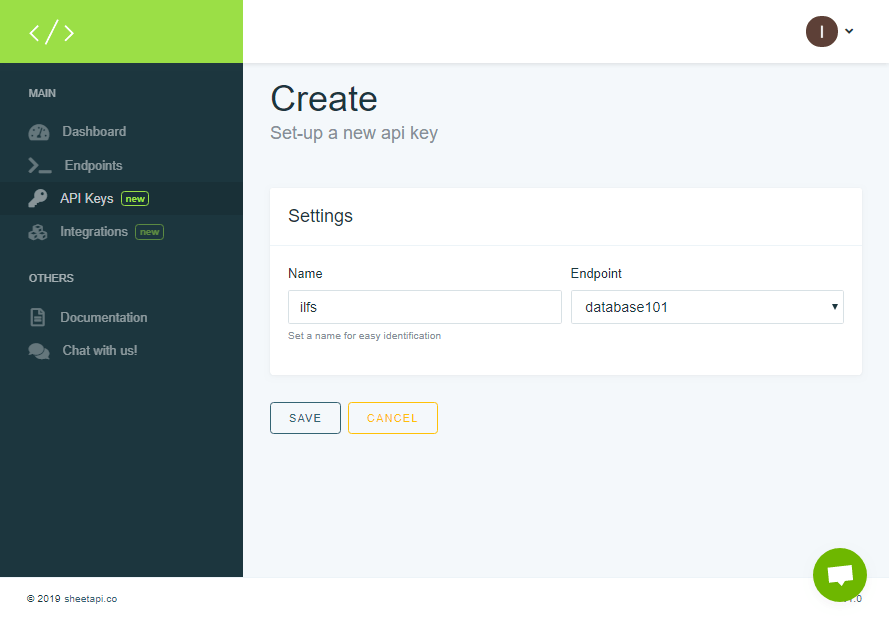
Now, head to the API Keys section and click the “CREATE” button to set up a new API key. Enter a name for the API and choose the endpoint where you want to connect it; which is the one we create in the previous step. Save the configuration to get the API token.
At this point, you have an API URL, API Token, and an empty database in your Google Sheets. Now, you can use the RESTful API to GET, PUT, POST, and DELETE data to the database.

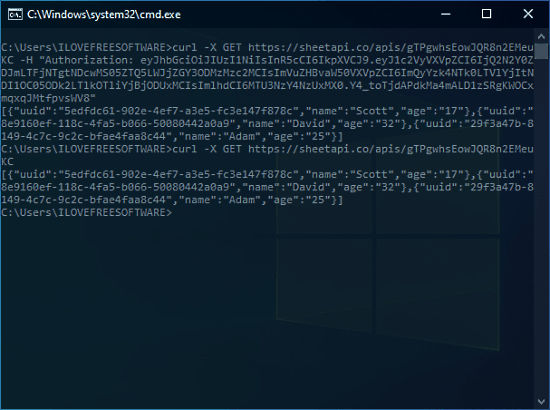
To use the API, you have to install CURL on your PC. After that, you can use follow the respective commands to access the data from the command line. You can get detailed information on the commands from the Documentation page of SheetAPI along with limitations and use cases. First, you have to run the Authentication command to get access to the endpoint. And after that, you can run the other commands to access the database. When you POST a new entry to the database, the API automatically generates a UUID for that row that will be the “primary key” for the API.
Authentication:
curl -X GET https://sheetapi.co/apis/API_ID -H "Authorization: API_KEY"
GET:
To get all rows: curl -X GET https://sheetapi.co/apis/API_ID
To get a single row: curl -X GET https://sheetapi.co/apis/API_ID/ROW_UUID
POST:
curl -X POST https://sheetapi.co/apis/API_ID

-H "Content-Type: application/json"

-d '{"name": "Scott", "age": "25"}'
PUT:
curl -X PUT https://sheetapi.co/apis/API_ID/ROW_UUID

-H "Content-Type: application/json"

-d '{"age": "26"}'
DELETE:
curl -X DELETE http://sheetapi.co/apis/API_ID/ROW_UUID
Wrap Up
This is how you can create a RESTful JOSN API using Google Sheets as a database. It allows you to easily create and manage a database using just a few commands that can also be automated easily. The free-tier is pretty limited for real-world applications but it’s good enough for test projects and experiments. Give it a try and share your thoughts with us in the comments.