This tutorial talks about how to record login screen as GIF. Well, there is no direct method available to do that, so I will tell you about a very handy tweak that can do that easily. in the tutorial, I will make use of two different freeware namely: EOAR, and Gooncam. The EOAR freeware lets you open Command prompt on the login screen, so you can easily open any program on the login screen. And using EOAR, I will open Gooncam on the login screen and then record the activities.
Gooncam is free software that lets you record any particular region of your screen as GIF. And you can also edit the recorded GIF and remove unnecessary frames from it. And then save the final GIF to any directory.
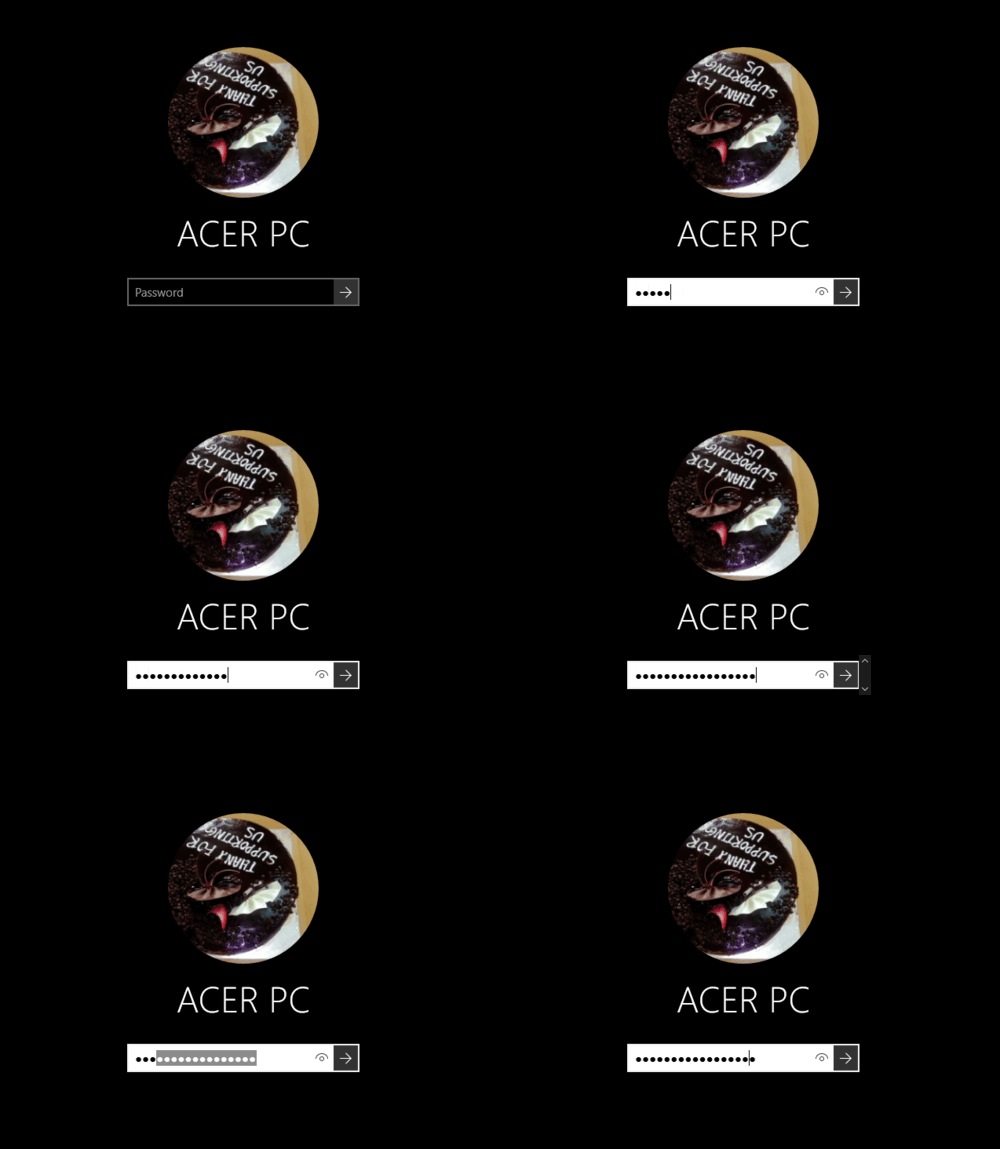
It is pretty easy to take screenshot of login screen in Windows 10, but recording Windows 10 login screen in form of gif is a whole different animal. Let me tell you how to do that.
How to Record Login Screen as GIF?
I have already told you that to record login screen as GIF, you will need EOAR which stands for Ease of access replacer and a freeware Gooncam which is GIF screen recorder. And making use of both, you can easily record login screen as GIF. And from the login screen, you can save the recorded GIF to any location of your PC (except the desktop).
Follow these simple steps to record login screen as GIF.
Step 1: Download EOAR from this link and download Gooncam from here. Since Gooncam is portable software, so there is no need to install this. Just extract the contents of the ZIP file of Gooncam to any drive, say E drive. Now, extract the contents of EOAR and then run EOAR.exe file as an administrator. To run a run a file as administrator, right click on it and then Choose “Run as administrator option”.
Step 2: Now, click the install button after running, and then the Ease of Access button of the login screen of your PC will have various options, such as open command prompt, open PowerShell window, etc.
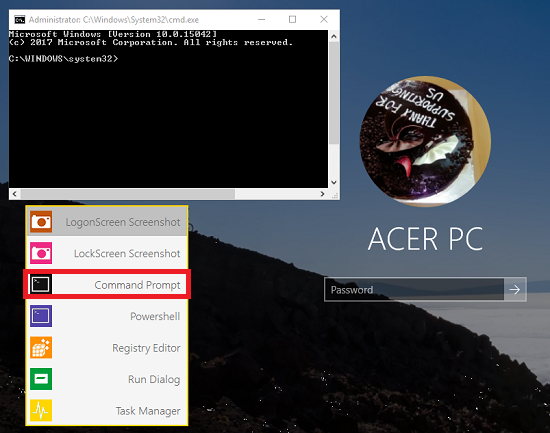
Step 3: Now, lock your PC and then click on the Ease of Access button. After that, the menu of EOAR will pop-up. Select Command Prompt From from it. And navigate to the location of the folder where you have extracted the contents of Gooncam.
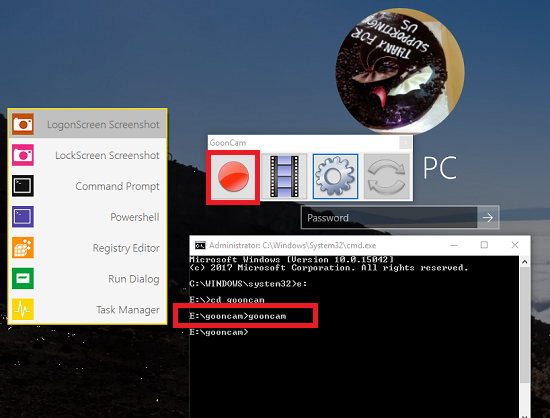
Step 4: Type Gooncam and then the interface of Gooncam will appear. Click on the record button and then the frame will appear.
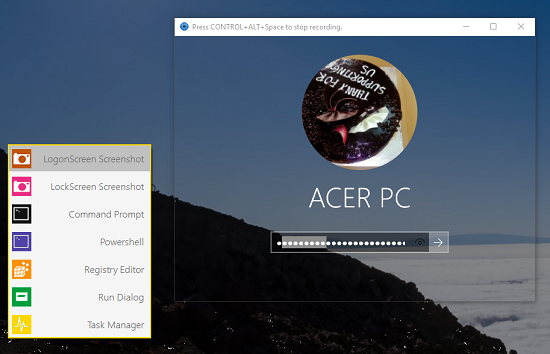
Step 5: Adjust the frame size and include the area of the screen that you want to record. Use Ctrl+Space to start recording and use the same keys to stop the recording.
Step 6: Now, close the frame window and again the interface of Gooncam will appear. Click on the convert button and then it will start processing your GIF and will ask you where to save the GIF. Specify the folder where you want to save the GIF and it will be exported there.
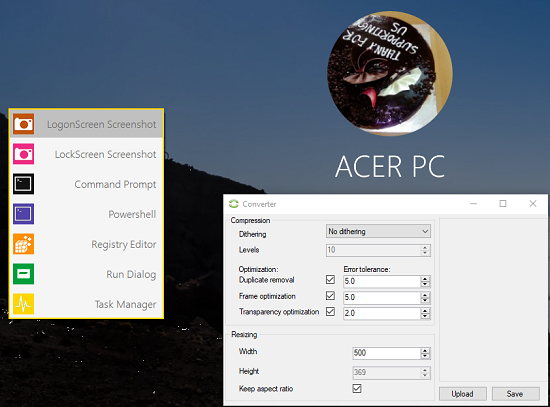
So, in this way you can easily record login screen as GIF. And to do that, you need two freeware, EOAR and Gooncam. All the process of doing that I have already explained in the above steps.
Conclusion
In the tutorial above, I have explained a handy method to record login screen as GIF. The above method worked fine for me and if you know of any other method to do the same, then let me know in the comments below.