Skewing an image involves the process of distorting it by giving it a tilt or slant in a certain direction. Basically, a skew operation is carried out by sliding one of the sides of the picture in the horizontal / vertical direction while keeping the opposite side fixed. Thus, tilting the top / bottom side of a design generates a horizontal skew while moving the left / right side gives rise to a vertical skew.
In this article we will be explaining how you can skew any layer in your Figma design file easily and quickly using a Plugin called Skew 360°.
Working:
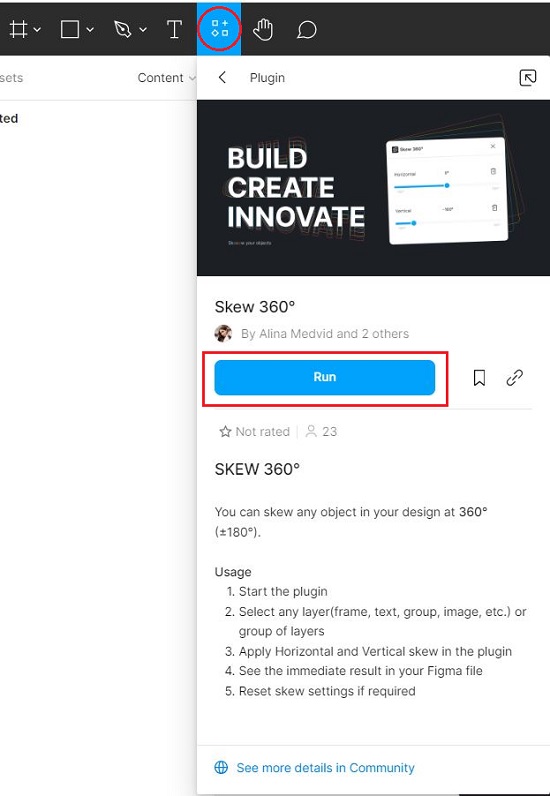
1. Ensure that you have signed in to your Figma account and click on this link to navigate to the Skew 360° install page and then click on the button ‘Try it out’ to install the plugin.

2. Navigate to Figma and open a design file. Select any layer in your Figma design that you want to skew, such as a frame, image, text etc. or a group of layers.
3. Launch the plugin by clicking on the ‘Resources’ icon in the top navigation bar of Figma and selecting Skew 360°.
4. Use the sliders on the plugin page to apply horizontal and vertical skew and you will be able to see the results immediately in real time. The range of skew available is at 360°(±180°).
5. Once you have set the required skew simply close the plugin window.
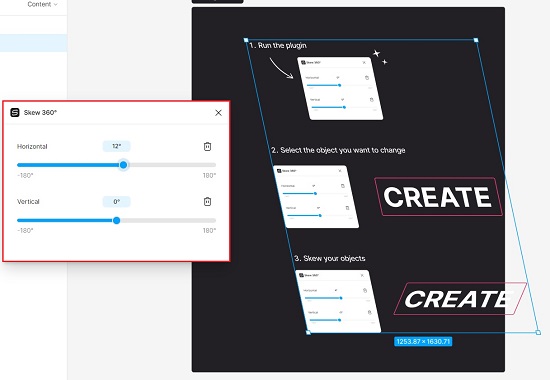
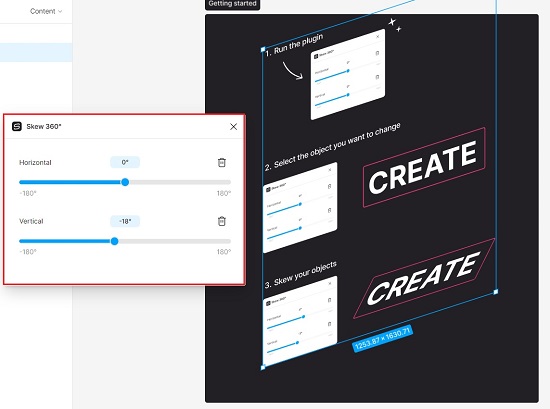
6. If you wish to reset the horizontal / vertical skew settings, just click on the respective ‘Delete’ icon.
Closing Comments:
Skew 360° plugin can be used skew any element in your Figma design file. It supports both horizontal as well as vertical skewing.