Here comes an all in one free image viewer, editor, screenshot capture and annotator software. It is known as “Apowersoft Photo Viewer“. You must have tried many other photo viewers, but this one is really fantastic. You can use all of its tools separately.
Its photo viewer supports many image formats, lets you play the photo slideshow, rotate photo, and save any photo to some other image format. The built-in image editor lets you open multiple images in different tabs and use annotation tools, resize, crop, and add effects to images.
Its screenshot capture tool is also a very good feature. You can capture a particular part of the image or the desktop screen, annotate the captured area, and then save it to your PC. If you want, you can also upload the screenshot or your photo to Screenshot.net website. After that, you can share the uploaded screenshot or photo to your Twitter, Google+, Pinterest, and Facebook accounts.
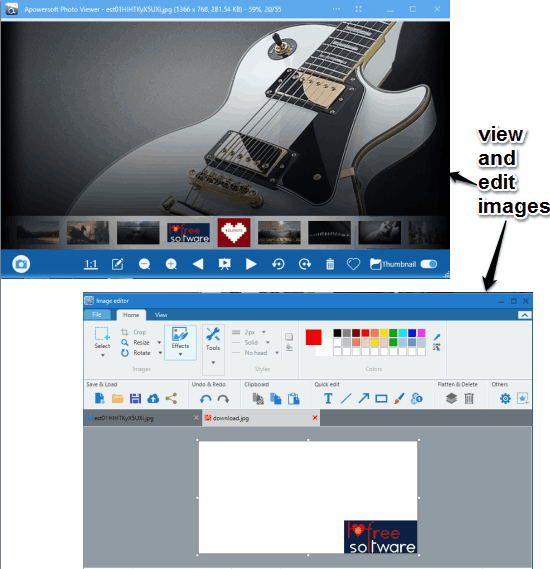
Above you can see the image viewer and editor of this software.
Note: It is mentioned on the homepage of this software that it also supports PSD, RAW, and CDR format images. However, when I tried to add any of these format images, it showed that these formats are not supported.
Using This Free Image Viewer Software:
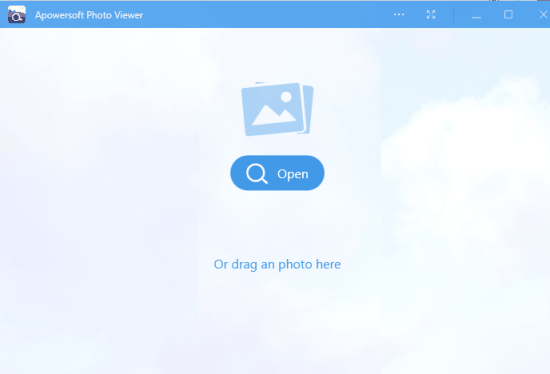
Grab the setup of this software and install it. It has a very simple interface. You can drop or add any image on its interface. It supports JPG, GIF, TIFF, SVG, PNG, ICO, XAML, and other format images.
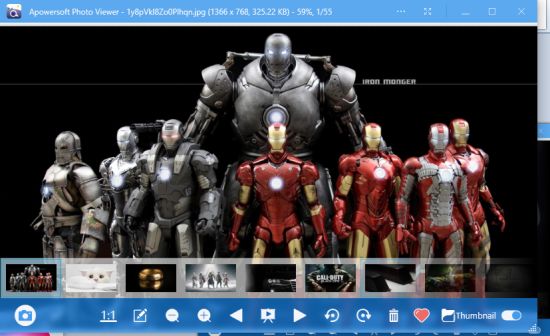
After inserting an image, all the images available in that directory are added automatically and visible as thumbnails on its photo viewer. You can view any image, edit any image using this available icon, play the slideshow, and put an image in Favorites folder.
Use The Built-In Image Editor:
The software has a built-in image editor. You can either edit the current image using Edit icon or open a new image after opening the image editor. If you want, you can also open a blank page and edit it using the annotation tools. Available tools are: Text, Rectangle, Free Hand, Eraser, Pixelate, Highlighter Pen, etc. You can also select a particular color for the selected tool.
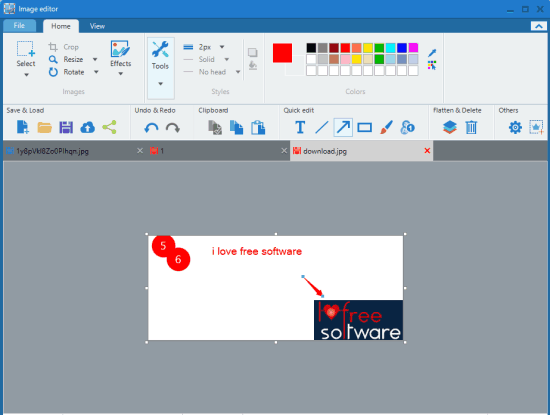
When you are done with annotation, you can save the image. Also, before saving the image, you have the option to resize the annotated image.
Capture and Annotate Screenshots:
This is a unique feature not present in most of the image editors. You can capture a specific area of the desktop screen or the active image and then annotate it. There is a Camera icon at the bottom part of its photo viewer. Clicking that icon will let you capture the image part and annotate it. However, when you have to capture the desktop screen, you need to use ‘Ctrl+Q‘ hotkey. After capturing the desktop screen, you can use Blur, Text, Highlighter, Line, Rectangle, and other available tools. You can also set the width of a tool and use color palette for a tool.
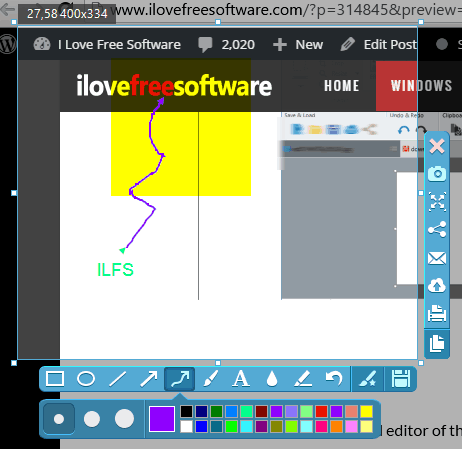
Do the annotation and after that you can save the annotated screenshot to PC as PDF, PNG, JPG, GIF, TIFF, or other supported image format. Apart from saving the screenshot to PC, you have the options to upload it online and post on your Twitter, Pinterest, Google+, or Facebook account.
So these are the tools that you can use with this software.
The Verdict:
In my opinion, Apowersoft Photo Viewer is one of the best photo viewers. It has three different tools and works perfectly. You don’t have to use other screenshot annotator software as it has built-in screenshot capture and annotator. And its built-in image editor has sufficient tools to annotate and edit the image.