In this tutorial, I will tell you how to create 3D Image from 2D Image. By doing so, you will be able to add field of depth to various objects on a normal 2D photo. This will add a 3D effect to your photo and you will be able to distinguish between near and far objects. You can either save the 3D image as JPG, PNG, Animated GIF, or Video. The JPG and PNG versions of the converted 3D image will only be able to render 3D properties on Depthy, Google camera’s Library, or any tool that understands Field Depths. To do so, I will be using this amazing online tool named Depthy. So, let us quickly take a look and know how to create 3D image from 2D image.
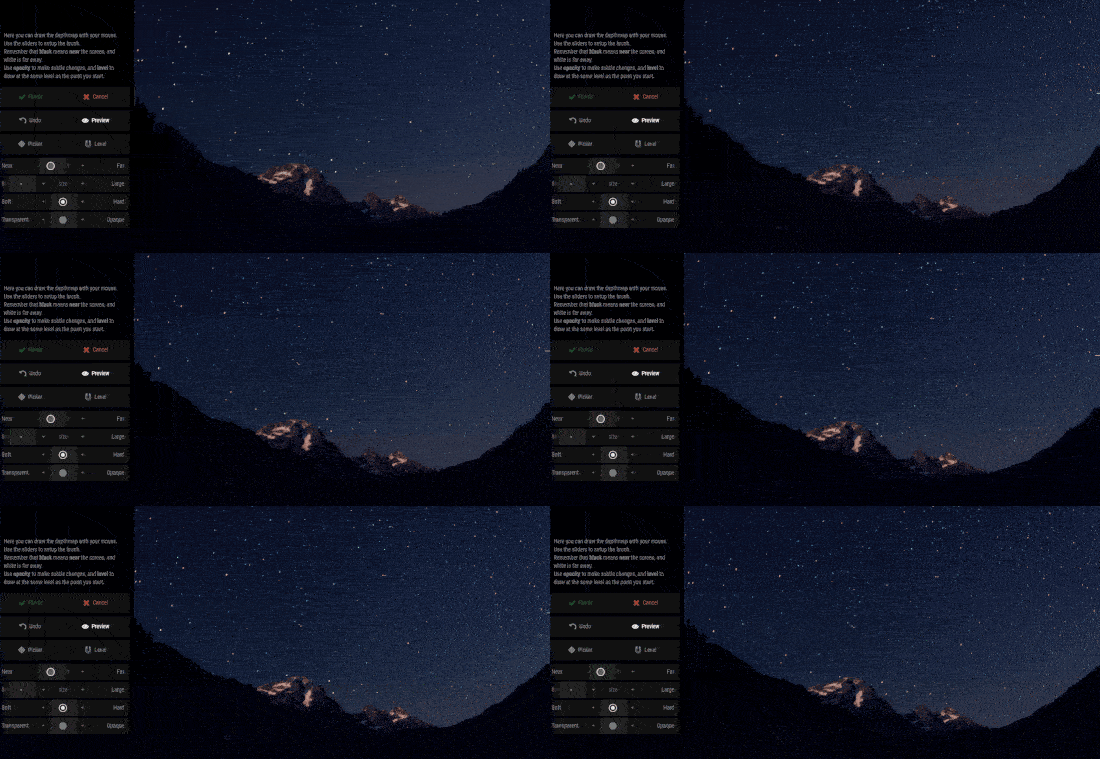
As you open Depthy, you will find certain preloaded 3D images as example. You can view these images by clicking on them. As you move the cursor around the images, you will be able to view the photo in 3D form, as displayed above. Above is a 3D form of a 2D image of a starlit night which I captured. Here, I set field of depth of mountains as near and sky as far. This is what you will be doing to a simple 2D image.
Checkout this tool to Fix Blurred Images And Out Of Focus Images.
How To Create 3D Image From 2D Image Using Depthy
On the Homepage of Depthy, click on the Open photo option. You will be able to select a photo from your PC, which will get uploaded to Depthy.

As soon as you open your image, it will load on the screen with 2 options.
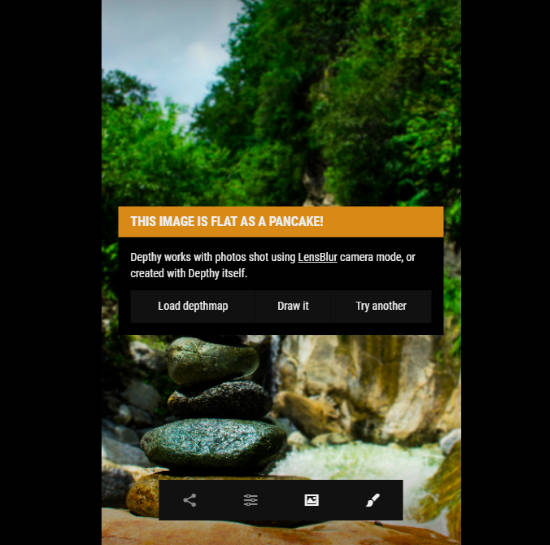
The first option, which is Load depthmap is for those who have Depthmap of image. Depthmap contains the information regarding the field of depth of image. But, we do not have this info, and we have to manually provide depth info to create 3D photo from 2D photo here. So here, we select the Draw It option.
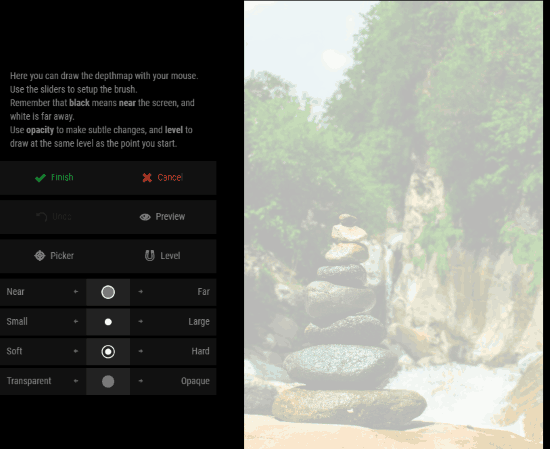
This is what the panel looks like from where you will draw the depthmap. Depthmap of photo is drawn according to the elements of photo and how far they are in reality.
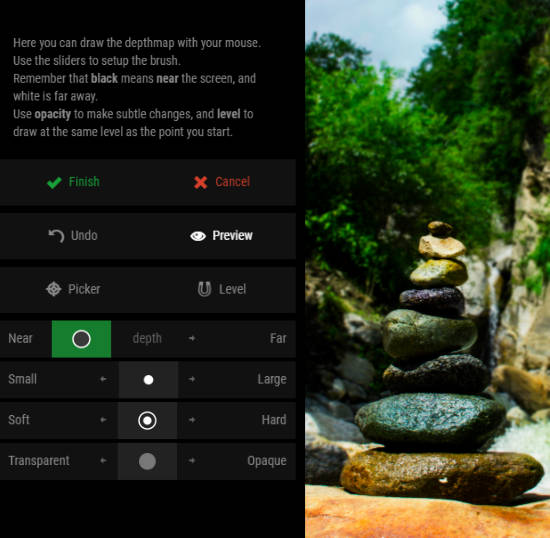
First, you can begin with drawing using your cursor on nearby objects from the point of view. For this, you will have to set the distance slider to near. You can also select the brush size as small or large to draw on objects. If the object has fine details to draw on, then smaller brush size will be really helpful. You can also vary the softness of brush while drawing. Transparency of brush can be set according to your choice. By varying opacity of brush, you will be able to draw the depths properly.
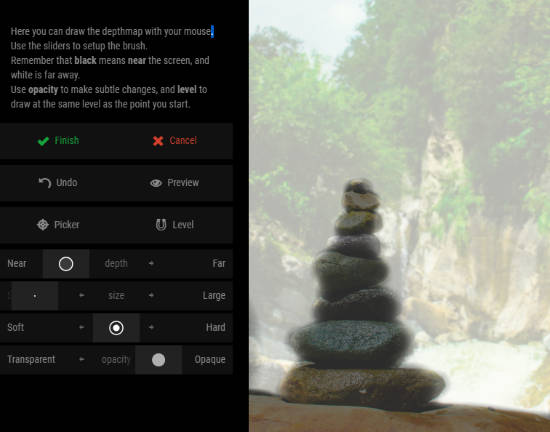
For the photo I used, the arranged pebbles were near and the background was really far. So, I drew on pebbles with the above displayed brush configuration. I varied brush size according to the pebble size to get best result. Now to view the resulting 3D image, you will have to click the Preview option.
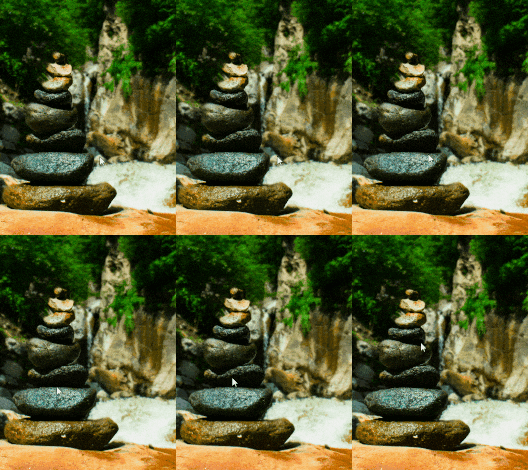
Here is how the 3D image will look like. Upon moving the cursor across the photo, you will be able to observe the depth of elements.
How To Save The 3D Image
Now the main question arises, how to save the 3D image to view later.
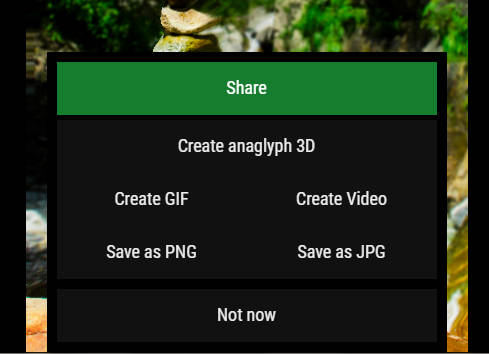
After you click the Finish option in the editor menu, you will be sent back to the homepage of Depthy, with your 3D image open in its viewer. On your image, you will find Share option. Click it to open the Share menu and view the options to save the 3D image.
The first option is to Create anaglyph 3D of the image. This will create the anaglyph version of the photo, which you will be able to view using Red and Blue 3D glasses.
The Create Gif and Create Video options will render animated 3D versions of your image. It is up to you if you want video or GIF version.
And as I mentioned earlier, if you are opting for PNG or JPG, you will need an image viewer that understands field depth. The best bets are Depthy itself and Google camera’s Library.
Final Words
Depthy is an incredible online tool to create 3D image from 2D image. The best part of this tool is that, if you do not have field depth file of an image, you can create 3D image by manually defining depths of objects.