This tutorial explains how to find and remove duplicate emails, contacts, and appointments from Microsoft Outlook.
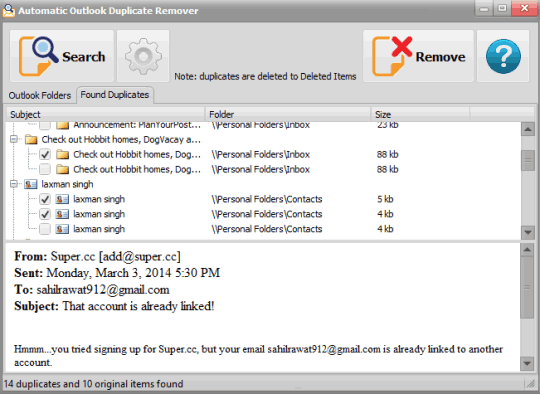
Automatic Outlook Duplicate Remover is a freeware to automatically find and remove duplicate emails, appointments, and other items stored in your Outlook. It shows the list of all duplicate entries and provides you option to remove all or just selected entries.
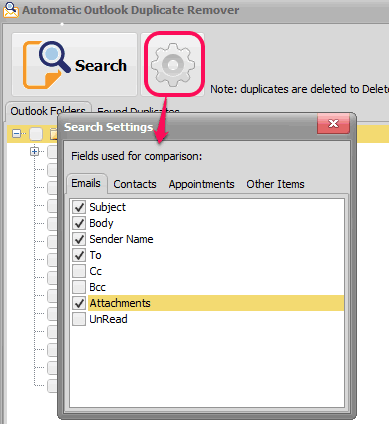
You can also select fields based on which it will consider an item as duplicate. For example, you can select subject, body, sender name, attachments, etc. for Emails, and then it will search all these fields from emails to find duplicate items from your mails.
Above screenshot shows the duplicate and original items found by this handy software.
Note: This software works for almost all versions of outlook ranges from 2003 to 2013.
You may also check these free Outlook plugins reviewed by us: OutlookStatView, Hangouts for Microsoft Outlook, and Chilibase.
How To Automatically Find and Delete Duplicates Emails, Appointments, and Contacts from Outlook using This Freeware?
You can download the setup file of this Outlook duplicate remover software using the link I have added at the end of this tutorial. Install it and then follow these steps:
Step 1: Open the interface of this software. It provides two main tabs: Outlook Folders and Found Duplicates.
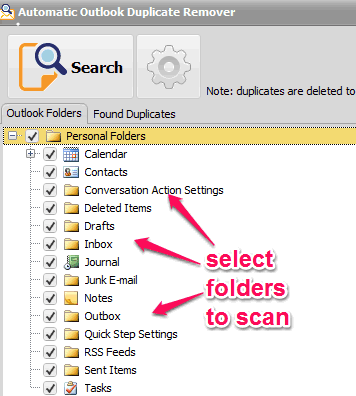
Step 2: From the Outlook Folders tab, you can select the folders that you want to scan to find duplicate items. You can select contacts, calendar, Inbox, draft, junk email, journal, sent items, rss feeds, notes, tasks, and more.
Step 3: Click on Settings icon. It will open a small window. Using that window, you can select fields that will be the key factors to mark an item as duplicate. You can enable/disable subject, body, attachments, first name, last name, categories, and other fields for different entries, and close the Settings window.
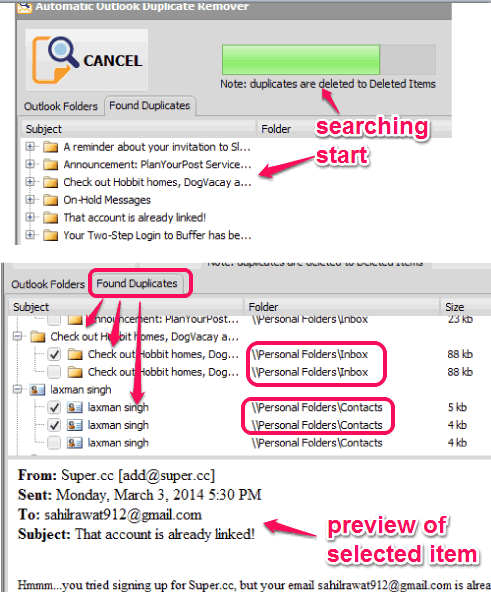
Step 4: Click on Search button. After this, it will start finding duplicate items based on the fields selected by you. Once the searching is completed, it will automatically move you to Found Duplicates tab.
Now you can see all the duplicate and original items. Clicking on a particular item will let you preview that item within its interface. It’s quite good to preview items before deleting.
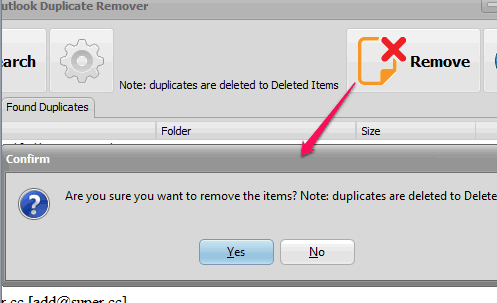
Step 5: After selecting the unwanted duplicate items, click on Remove button. This will help to remove all those duplicates and move them to Deleted Items in Outlook.
Conclusion:
For those users, who used to work with Outlook frequently, this is really a good software to remove unnecessary items available in their Outlook folders. Just select items and fields and it will automatically detect duplicates, and provide you option to remove those items.
