Share Photo To Facebook is a free Windows 8 app that allows you to share images from other Metro Apps To your Facebook account by making use of the Share Charm that can be accessed within any app by pressing the Win+H key. Apart from allowing you to share your photos to Facebook, when you launch the app, you will also see a neat interface that allows you to see the images that you may have posted previously on your Facebook account by clicking on the My Facebook Photos while inside the app. The app does not need to stay running in the background for the share feature to work. This is one of the best features of this app, as it does not consume any needless resources or memory on your Windows 8 device, while staying fully functional at the same time.
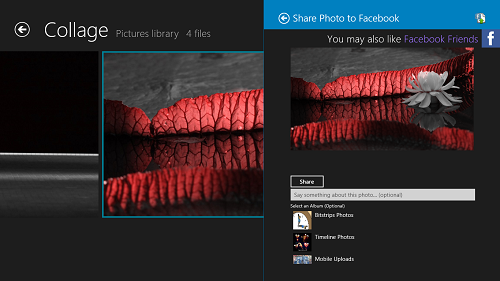
To share your desired image to Facebook, simply right click the image that you want to share within the app from which you want to share it from, and then press the Win+H shortcut on your keyboard to open up the share charms bar from the right side of the screen. Select Share Photo To Facebook from the list, type in your caption for the image, and press Share. It’s as simple as that.
Share Photo To Facebook is available for free from the Windows App Store.
Using the app:
When you install and launch the Share Photo To Facebook app on your Windows 8 device, you will be asked to log in to your Facebook account. This is an absolutely essential step, as without logging in to Facebook and providing the app the permissions to post to your profile, this app is useless. Anyways, once you have successfully logged in to Facebook through the app, you will be presented with an interface which looks like the below screenshot.
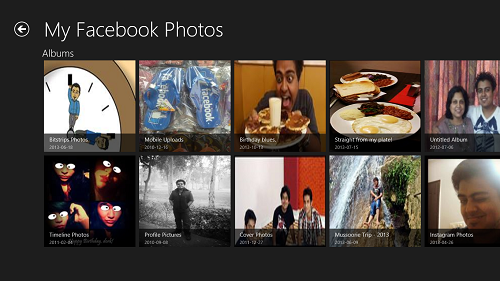
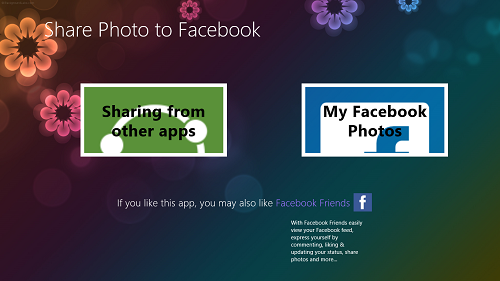 If you click on the My Facebook Photos option, you will be shown the images that you have already uploaded earlier to your Facebook account, thereby acting like a photo gallery for your Facebook images. The app does NOT allow you to leave comments, like or share these images, simply allows you to view them. Clicking on any of the images opens it up in full screen view, and below is how this gallery looks like.
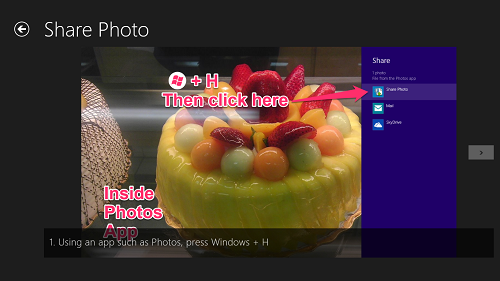
In the main screen of the app, clicking on the Sharing From Other Apps button will show you the method involved in sharing images from other apps to Facebook. Clicking on this button brings up a screen which looks like the below screenshot.
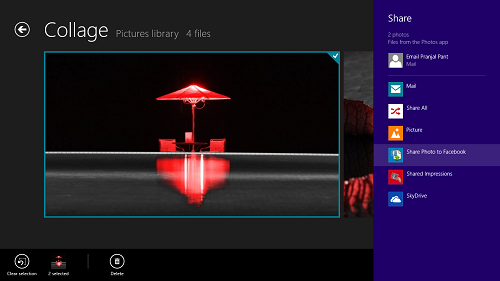
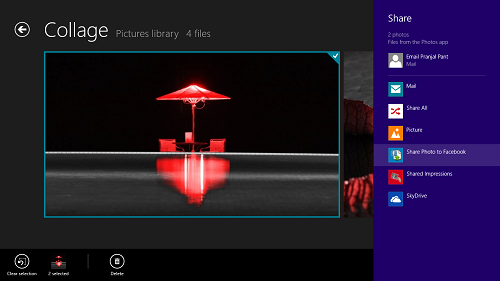
To share an image, simply close the app, and open the app from where you want to share your images. I am using the Windows 8’s default image viewer app for this purpose. Open up the location where your image is, right click your image, and press Win+H key on your keyboard to bring up the Share charms bar. Alternatively, you can also drag your mouse to the top right corner of the screen, and then select the Share button to bring up the Share charms.
Select the Share Photo To Facebook option from the right.
Now, simply type the caption of your image, and click on the Share button below the text field when you are done entering the caption in the text field. That’s it, you image will now be posted on your Facebook timeline, and you can check there to make sure that it has been posted.
You can also read about the Share All app which performs the same functionality.
Features:
+ Very smooth.
+ No ads.
+ Easy to share images.
The verdict?
Share Photo To Facebook is a good app to share the images stored on your Windows 8 device to your Facebook account with ease, from right within other Metro Apps which allow sharing of images.
