In this tutorial, I will show you how to make Timeline from Google Sheets. You can simply enter details of all the events in a Google Sheet, provide date, add images and videos, and then all of that will be converted to a beautiful timeline. You can also edit the timeline if you want, like, add labels to it, move the events around, and add more events. Once all is done, you will be able to share the timeline created from Google Sheets. You will be able to share the timeline on social media platforms, and will also get an Embed Code to add it to your website or blog. And we will do all this using a free tool.
For this, I will use this free online timeline maker, TimeGraphics. It provides a Google Sheets template, where you have to enter timeline data manually. For an event, you can enter title, description, date, time period, image, video, and more, all in the Google Sheets template to create timeline. You can even enter data to add multiple events on a timeline in a go.
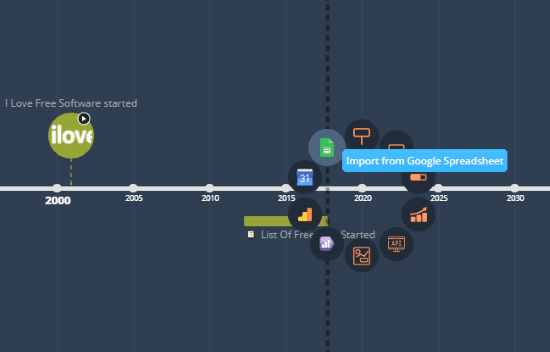
Checkout this tool which lets you Collaboratively Create Timelines Online.
How to Make Timeline from Google Sheets
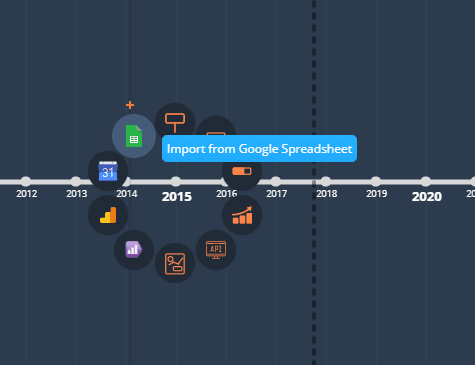
For this, you will have to first open TimeGraphics. When you open this online timeline editor, click anywhere on timeline, and from the options that pop-up, choose the Import from Google Spreadsheet option.
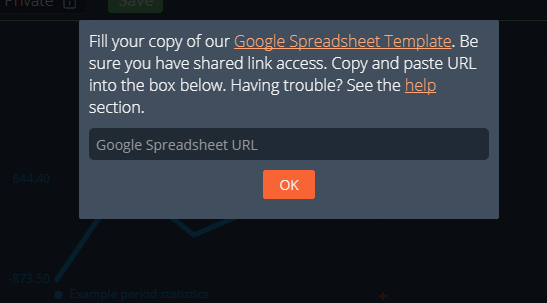
A pop-up will appear as shown above. Here, TimeGraphics provides a Google Spreadsheet Template, which you can use to input timeline data, along with details, images, videos, without applying much effort. How it works? Simply add details in the Google Sheets Template according to your timeline requirement, then copy the shareable URL of spreadsheet, enter the URL in TimeGraphics, and you are done. Let us checkout the same in details.
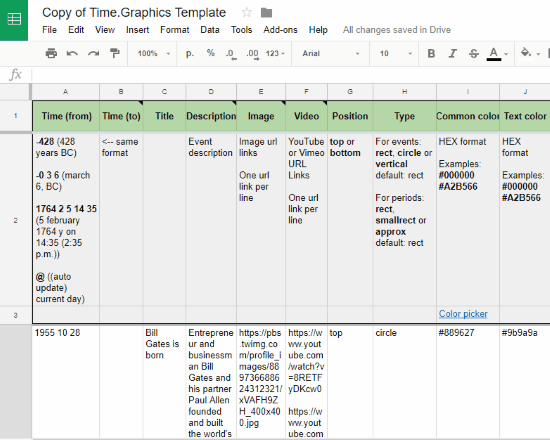
This is what the Google Sheets template looks like. In this template, in the top row, parameters for various timeline variables are given. By default, timeline parameters for Bill gates are entered in the second row. You can edit the second row and put your own data to add to the timeline. Notice, that you can add Time, Time duration, Title, Description, Image and Video (through URL), etc. Once you add these info, you can begin adding another timeline event in the next row. You can add as many events you want.
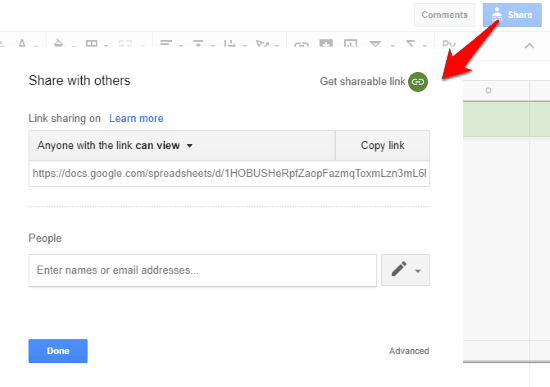
After centering data in the Sheet, click the Share button. From the pop-up window that appears, select the “Get Shareable Link” option. This will automatically copy the shareable link of the Google Sheet. Now you have to paste this link in the pop up that appears when you click the “Import From Google Sheets” option in TimeGraphics. This will fetch all the data from the sheet and automatically create a timeline for you. Doing this, not only saves a lot of time, but also makes it easier for you to create a complex timeline.

This is how a timeline looked like for the Google Sheet I created from the copy of provided Google Sheet. Once a timeline is created, you can further edit and modify it manually according to your choice. You can change event time/period parameters, change visual properties, and even modify image or videos.
When you have finally created your timeline, you can set its visibility to Public, Limited, or Private. Clicking on Save option will save the timeline. After that, you can share the same on social media websites, such as Facebook, Twitter, Tumblr, Reddit, Linkedin, etc. Using the Embed Code option, you will get a embed code to the timeline, which you can add to your website or blog.
Final Words
This process to make Timeline from Google Sheets definitely makes the task of complex timeline creation very simple. All you have to do is enter data in Google Sheets and import it in TimeGraphics to create timeline. Although you can create complex and informative timelines, the option to save timeline as image is not available. This may be a turn off for some users, otherwise all in all, it is a pretty impressive tool to use.