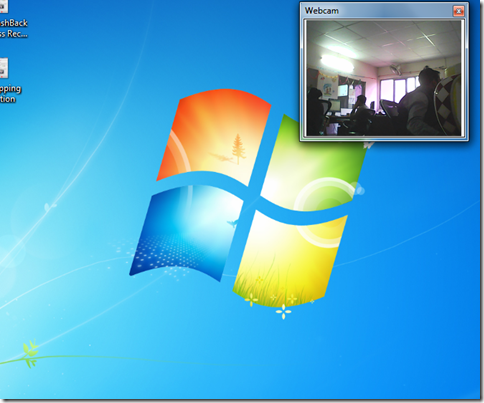
In this tutorial, I will explain how to record screen and webcam together to make nice video tutorials.
If you have been wondering as how to record your desktop screen and webcam, then a free software called Blueberry Flashback Express is the answer to all your queries. And here in this tutorial, I have tried to guide you through the technicalities. This free desktop and webcam recorder comes in small size of just about 12 MB. It lets you record your screen and webcam together. You can adjust the size of webcam window, choose where to place webcam on screen. And for recording screen, you can choose to record entire screen, or a rectangular part of it, or a specific windows.
Enough of the briefing, now let’s get your video done with this free combined desktop and webcam recorder.
Before we jump into the tutorial, download and install this free software. Download link is given at end of this article. After you are done with the installation part, just follow the instructions given below. This will guide you to the making of your own desktop story.
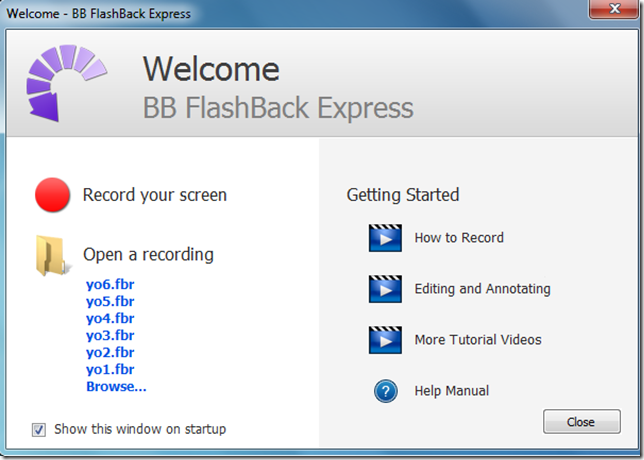
Step 1: Double click on the “Blueberry Flashback Express” icon on your desktop,this will open your window like one I have given below. There you will see two options: one is to record your screen and another to open a pre-recorded video. I am assuming that this is your first video, so we will click on “Record your Screen” option.
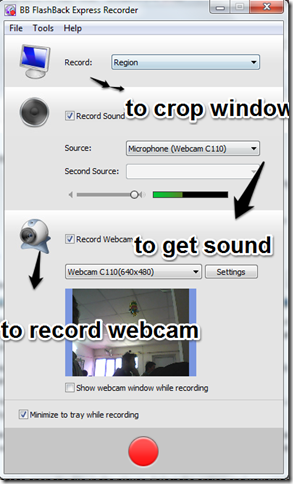
Step 2: After clicking on that option, you will be directed to a window where you will do the necessary changes. Like, you can choose to record webcam, see webcam window while recording, record sound. You can also specify which part of the screen you want to record: recording the full screen, a region, or just a window.
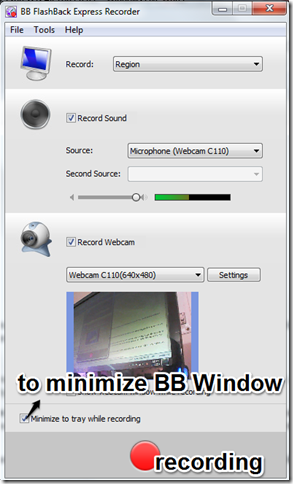
Step 3: Click the big Red button provided at the bottom of your window. That’s the recording button. If you wish to minimize this BB software window and continue to record your desktop and webcam together, then just click on the option provided to you just above this Red button.
Step 4: If you chose the option of “Region” to record screen, you will see a window using which you can select part of the desktop screen to be recorded. After that, just click on the “Record” button and your recording will start in 3 seconds. This will start recording your screen and webcam together. You need to place the webcam inside the region that you selected. You can also resize the webcam window.
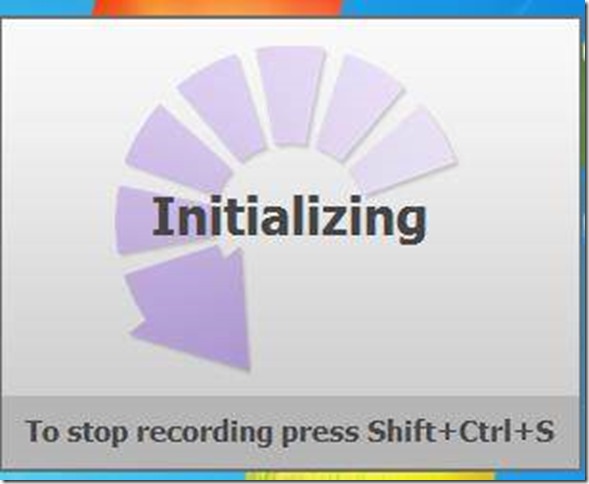
Step 5: Once you have completed the recording, “Shift+Ctrl+S” to stop recording. After that, a small window will appear, which will give you the option to save or discard. Just click on the save option and a window of “Save As” option will appear. Rename your file and click save. The file will be stored in .fbr format. This file will be opened in the BB Flashback Express player, which was also installed while you were installing the software.
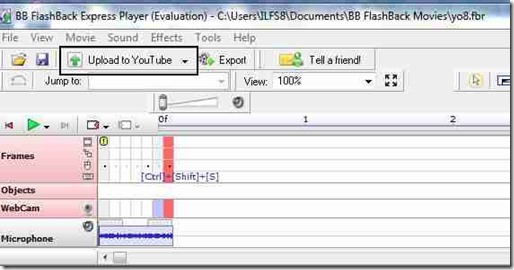
Step 6: A window must be appearing now which is probably asking you if you want to open the file in the player. Select the option and your video will be opened in the video player cum video editor, one that looks exactly like the picture given below.
Step 7: Unfurl your creativity and do all the editing you wanted to do anyway on this video editor. Thus your objective to record your desktop screen and webcam together is fruitfully done.
Step 8: Click on the option provided you at the top left hand corner of the video player, which says “Upload on youtube”. Let your video go viral and gather thousands of likes from all over the world.
Thus, wrapping up these sets of guidelines I would say that, this software is legit to the purpose, easy to use and free as we all like it.
Get Blueberry Flashback Express here.
Also check out these best free screen recording software reviewed by us.
