Jumpshare is among popular file sharing services and now it has released its desktop client too (both for Windows and Mac). Jumpshare desktop client (or Jumpshare for Windows) lets you upload files and folders to your Jumpshare account directly from desktop and share the URLs of uploaded files with anyone you want.
Apart from this, Jumpshare desktop client has some unique features. You can record audio and desktop screen, capture and annotate screenshots, create notes in plain text/Markdown/code from the desktop and save everything online on your account. It also lets you upload URLs of webpages. It generates unique URL for each uploaded item, which you can give to others. People can view and download your files (after accessing the URLs) without installing its desktop client or creating an account on Jumpshare. So, there are multiple benefits of using Jumpshare client.
However, there are few limitations in free account (with 2 GB free space) of Jumpshare. So, you need to take care that your single file must not be larger than 250 MB. Moreover, voice clip and screen recording is limited to one minute at a time.
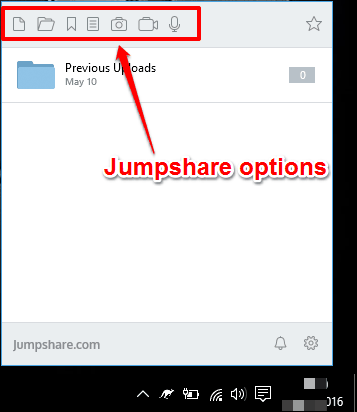
Above you can see main window of Jumpshare desktop client which includes all its important options.
Using Free Jumpshare Desktop Client:
Grab the installer of Jumpshare for Windows and install it. After installation, you first need to click on its system tray icon, and login to your Jumpshare account. This is mandatory otherwise you won’t be able to upload files or access other features. If you don’t have Jumpshare account, you can create one quickly.
After this, you can access all its important options. Let’s have a look at its important sections.
Upload and Share Files and Folders:
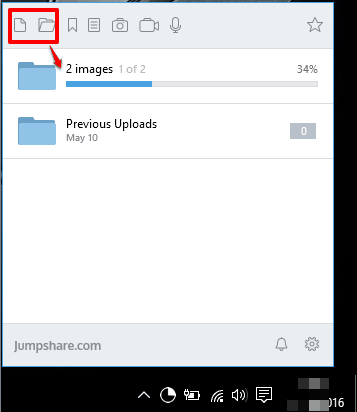
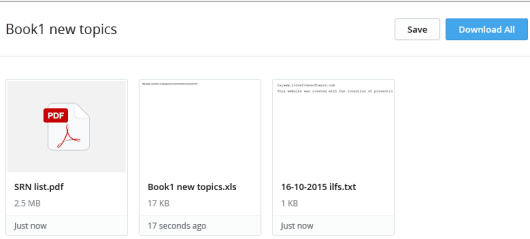
There are two ways to upload files and/or folders. You can either select and drop files on its tray icon or click tray icon first and then select File or Folder option. If you are uploading multiple files together, then it automatically adds them in a folder and generates a unique URL for that folder. Jumpshare support over 200 formats. So, you don’t need to worry if the uploaded files will be visible/accessible to other users or not.
Anyone who has URL of files or folders can access your files, preview them, save to his/her Jumpshare account, and download them.
Capture and Annotate Screenshots and Upload To Your Jumpshare Account:
This is an interesting feature that can come in handy when you have to capture full desktop screen or only a part of it. Full desktop screen can be captured using the same PrintScreen key. However, you can’t annotate that screenshot and it is uploaded directly to your account.
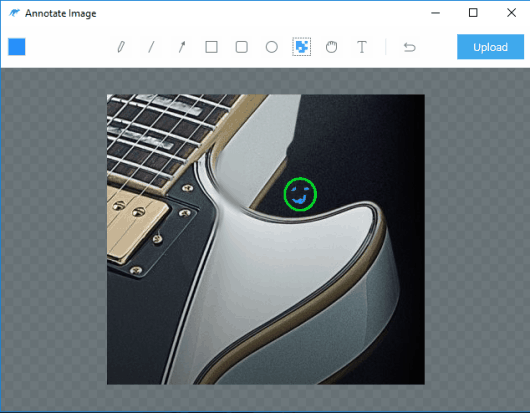
On the other hand, when you have captured a particular area of desktop, then you can annotate it with built-in screenshot annotator tool. It includes circle, text, rectangle, blur, and other tools. You can also choose any of the available colors to annotate the screenshot. Use ‘Alt+Shift+1‘ (default hotkey) or customize this hotkey to capture a particular area of desktop and annotate it.
Once you have annotated the captured screenshot, use Upload button to save it on your Jumpshare account. A unique URL for your annotated as well as full captured screenshot is generated that you can share with others.
Audio and Screen Recording:
This feature is important when you want to record something important on your desktop and when you have to describe something in your own voice. You can use Record screen option when you have to record desktop. However, this feature requires FFmpeg. Otherwise, it won’t work. For me, I tried installing FFmpeg, but failed to do so. You can try it yourself.
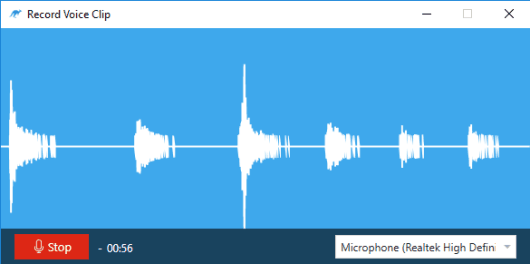
To record your audio, use Audio icon. A window will open using which you can select the audio device and start audio recording. As mentioned earlier, you can record audio or desktop for only one minute.
When recording is completed, it is automatically uploaded and saved to your Jumpshare account. A link is also generated to share audio or desktop recording with others.
Create Text, Programming, and Markdown Notes and Upload:
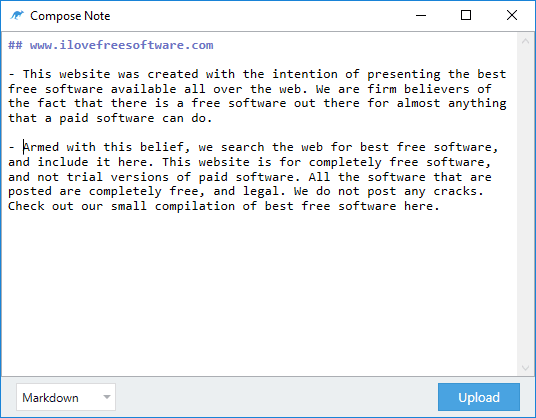
This is another useful feature that is rarely available in a file sharing service. Jumpshare desktop client comes with its own tool to create a plain text note, programming, and/or Markdown note and upload it to your account. For programming notes, it supports syntax highlighter also.
When you have written your note, press Ctrl+Enter to upload it.
Upload Bookmarks To Jumpshare:
This software also comes with upload bookmarks option which is actually lets you upload a URL to your Jumpshare account. You need to manually paste URL in the available box and upload it.
This might not be so important feature, but good to use.
Customize Settings:
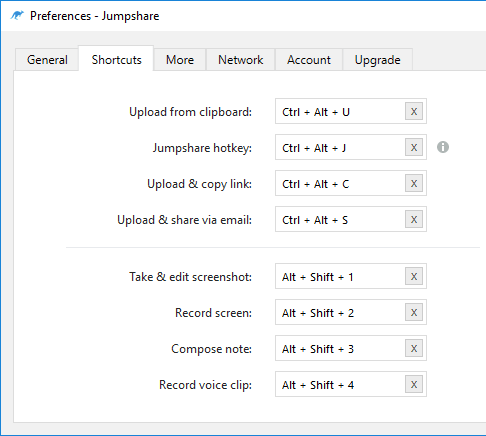
When you want to change hotkeys for Record screen, Compose note, and other options, you can right-click its tray icon and click on Preferences to open that window.
After this, you will be able to change the hotkeys using Shortcuts tab. You can also change some other settings, like share file or folder via email, set proxy, etc.
The Verdict:
Jumpshare for Windows is indeed a powerful file uploading and sharing client. Some really good features come packed with it that you won’t find in other similar file sharing clients. Definitely worth trying for Jumpshare users.
