This tutorial explains how to take a backup of complete PC if you are planning to install a new OS on your PC, or just format the PC (maybe your PC got infested with viruses!).
This guide will cover all the components of the PC that you need to backup, as well as the software required for the same. I have made sure to include only those software that are completely free.
If you are on Windows XP currently and planning to switch to Windows 7 or Windows 8, this guide will be your savior.
Technology these days seems to be on some kind of digital adrenaline. Every day a lots of new digital devices, software and services are introduced, only to be superseded later. Same goes for Operating Systems. OS upgrades are generally considered troublesome but they don’t have to be, thanks to a simple but very important system activity called BACKUP.
How to do it? Read on to find out.
What Should Be Backed Up While Upgrading OS or Formatting Hard Drive:
Every computer user is different, and so are their usage habits. Some people prefer to have all their documents, media, web downloads in neatly organized folders and partitions (I, being one of them, but that’s because I’m particular to the nth degree, about having my digital media properly organized) while there are some who still prefer to save everything that has an icon on that good ol’ Desktop (and probably that is why there are so many desktop organizer software out there). So it’s natural to feel a little flummoxed about deciding what to save and what not. But I’m sure the pointers below would make it crystal clear for you.
- Anything that isn’t stored on your system partition (the one that Windows is installed on, mostly designated as C:) doesn’t even need to be backed up in most cases. In other words, OS upgrades normally don’t alter other partitions except for the system one. But in case you’d still like to back them up, the process is as simple as Copying Everything you want to Backup from their default location to a removable media like a Flash Drive, portable Hard Drive etc. (you can use any of these file copy software). Once the upgrade is complete, you can transfer them back. Do note that in case you are formatting the hard drive, then you obviously need to back everything up.
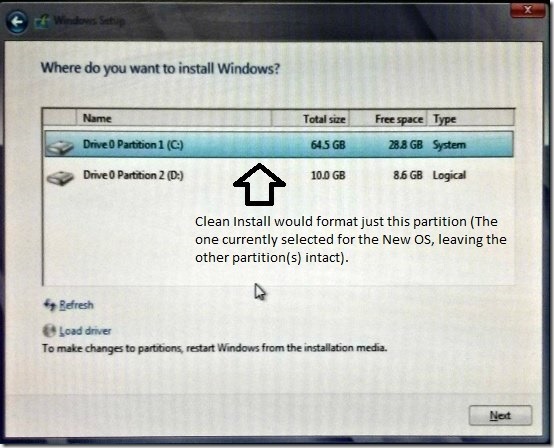
- Files that are stored in your System partition’s default folders & libraries (Downloads, Documents, Media, etc.) SHOULD be backed up. Check the screenshot below:
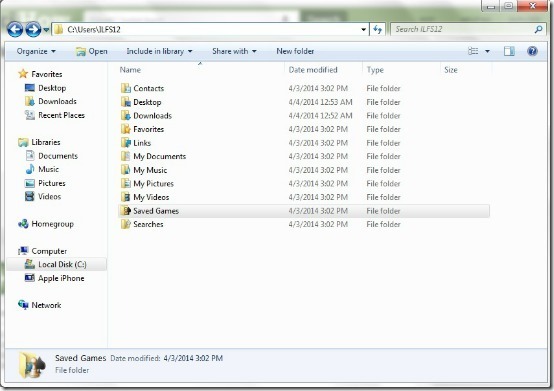
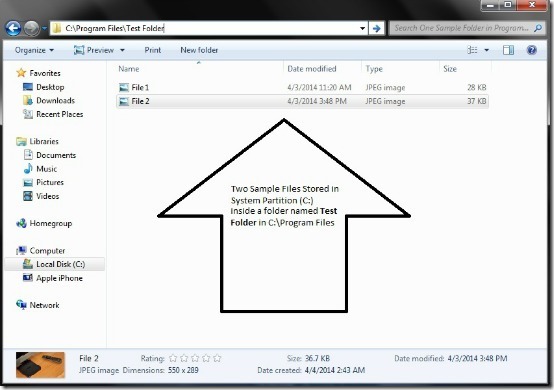
- Anything important that you have saved in your system partition SHOULD be backed up, no matter at which random location it’s saved. Check the screenshot below:
- Apart from the things listed above, the user folder (in C:/Users/<Username>) has a lot of system generated visible and hidden files and folders. These contain user specific configuration settings (like saved Wi-Fi passwords, Internet history etc.). These SHOULD be backed up under all circumstances, as they play a vital role in ensuring that the migration of user data and settings after OS upgrade is smooth.
- In addition, one might need to backup the device drivers as well. This isn’t that much of a problem with the newer Systems, because 99% of the time Windows finds and installs the latest drivers for your hardware automatically. But there still might be some legacy devices for which their vendors no longer provide updated drivers. In this case, backing those drivers up makes all the sense.
Now that you know what needs to be backed up, let’s see how to back them up.
Windows Easy Transfer
Windows Easy Transfer is a utility that helps you migrate all (or some) of your data and settings from an older OS installation to a new one. The best part about it is that it comes pre-installed with Windows itself. However, there’s a catch. Windows Easy Transfer only comes pre-installed with Windows 7 & later. But that’s not much of an issue, because if you’re having XP or Vista, you can download the OS specific versions from Microsoft’s website. Here are the links, for your convenience:
How to Use Windows Easy Transfer
Since it’s a built in tool, Windows Easy Transfer employs a simple and straightforward approach for migrating your data and settings. The steps below, along with the screenshots, should make the process crystal clear
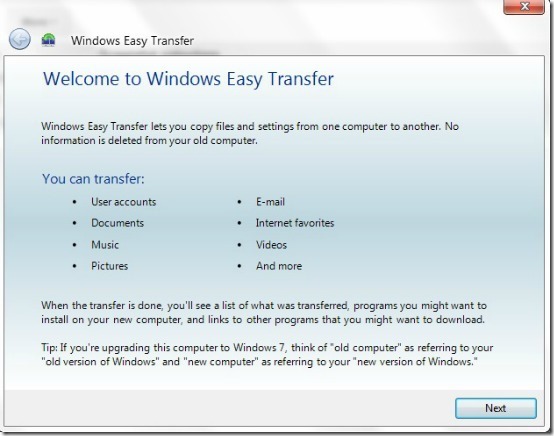
Step 1: If you’re having Windows 7 or newer, Windows Easy Transfer can be accessed via the Start Menu (All Programs>Accessories>System Tools). For those using earlier versions, just download it from the links provided, and it should launch on its own:
The above screenshot shows the first screen of Windows Easy Transfer. As you can see, it gives you a list of all the things that you can migrate from old computer (Older OS version) to the new computer (Newer OS version)
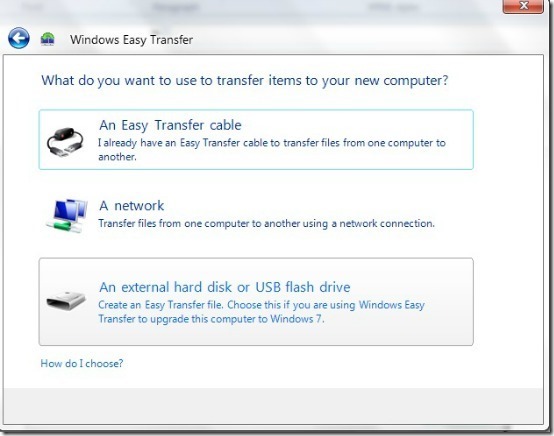
Step 2: Next screen provides you with a choice to use your preferred method of transfer. Here’s the screenshot
- Easy Transfer Cable: A Special USB Jumper Cable that can bridge two computers together. You can purchase them from all major computer accessory makers.
- Network: This creates a single transfer file that you can transfer between two computers by Local sharing over a Network.
- External Media: This creates a single specialized transfer file that can be copied to portable media .
For Our Tutorial: We will use Network transfer method (I did try using Flash Drive, but my XP installation did not detect any of the Flash Drives that I tried, and I didn’t want to search for device drivers of them).
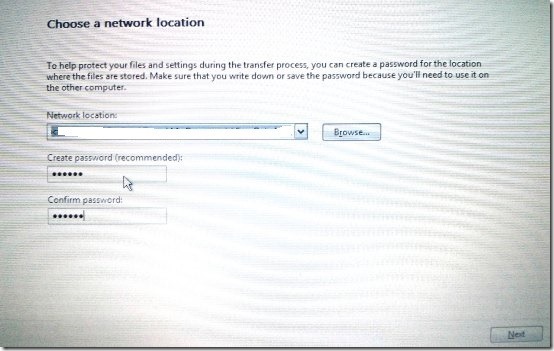
Do note that if you want, you can actually choose some local folder also as Network Drive location, but then make sure to move the backed up data to some other storage medium.
Step 3: Next screen asks you to choose a location to save your target transfer file. You’ll also need a password to set up the second half of this process on the new computer. So make sure you remember it.
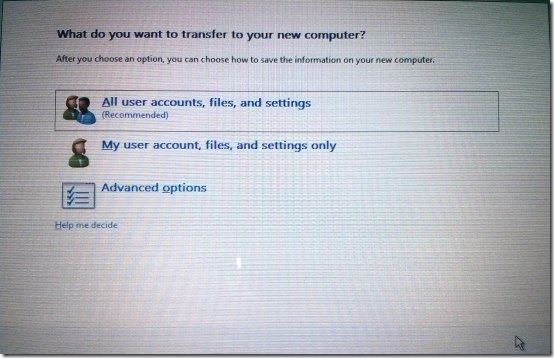
Step 4: Choose what you want to be included in the transfer file, on the next screen. For most casual users, the first option should be just fine (Recommended).
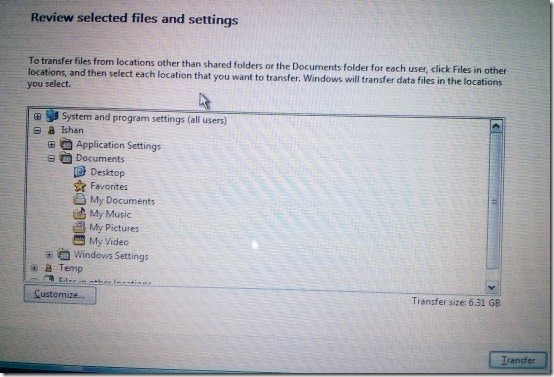
Step 5: Review everything one last time at the next screen. When ready, hit the Transfer button at the bottom right.
The Transfer file will take some time to be generated, depending upon the data that you have chosen to be included in it. Go out and take a walk or something while it does its thing.
(Warning: Do not close or interrupt the transfer process or let it be interrupted by anything like a power failure or something. If that happens, you’ll have to start the entire process again).
Once the transfer file is generated and saved on an External Hard Drive, one half of the process is done. The other half needs to complete on the “new computer”, or the same computer now running the “newer version of Windows”.
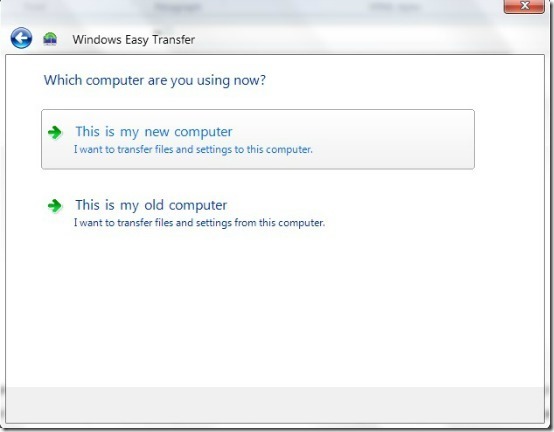
Step 6: Let’s assume that we have installed Windows 7 on our computer. And we want XP’s settings to be transferred to it. Fire up Windows Easy Transfer from System tools. At the following screen, Choose “This is my new computer.”
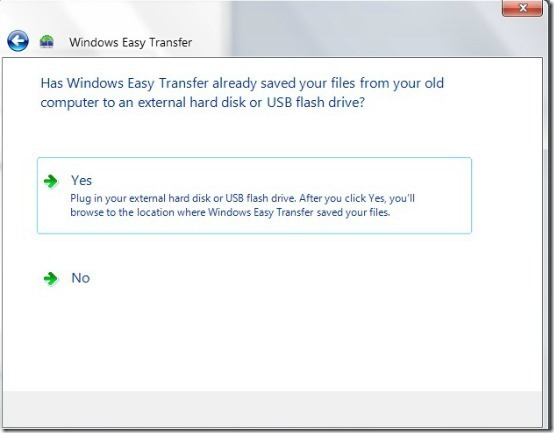
Step 7: Next screen asks whether you’ve saved your transferred settings to an external drive or not. Since we’ve already done that in the first stage of this process, choose the first option.
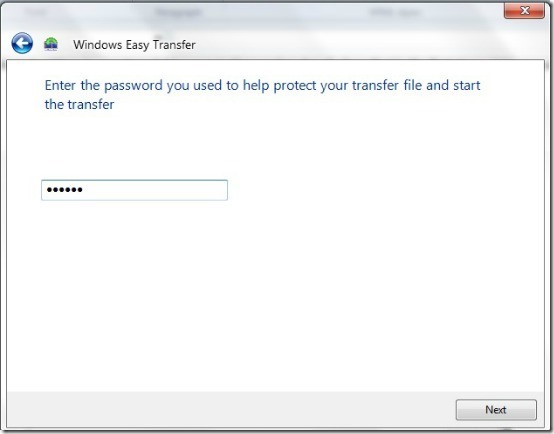
Step 8: Navigate to the location of your saved file (Saved on portable External media). You’re asked to re-enter the password you set up in the first step of this process to confirm transfer.
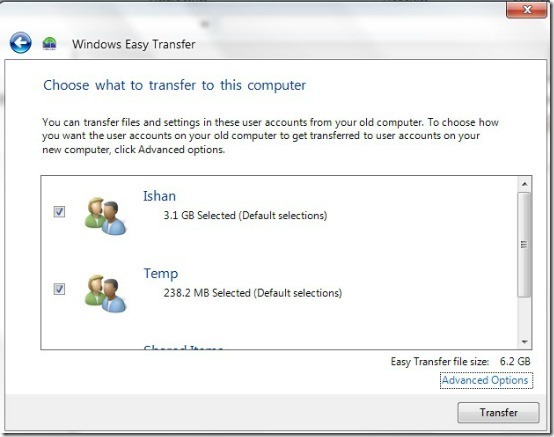
Step 9: The final screen gives you the option to migrate some (or all of your data) from the decompressed transfer file. You can either selectively migrate your data, or all of it.
That’s all there’s to it. Just hit the Transfer button, and all of your data and settings that you chose on the older version of Windows would be transferred and mapped appropriately to their respective locations in the newer OS version. That wasn’t that hard now, was it? (Though the process will take some time to finalize things up, so you might wanna take another walk, or maybe feed the dog).
Windows Easy Transfer: Pros & Cons
Pros:
- No need to install any extraneous third party software application (though you still have to install this application itself on systems having XP and Vista).
- Simple and Straightforward method with no confusing options.
- Provides you the option to either migrate your stuff entirely, or selectively.
Cons:
- Runs into hitches at times.
- No way to backup device drivers. So if your vendor has stopped supporting that ages old 56K PCI Modem for modern OS versions and you use this method, better start using that old hardware as a coaster or something.
A word about backing up Device Drivers
As mentioned already, one of the caveats in using Windows Easy Transfer is that it doesn’t backs up device drivers. So your legacy hardware faces an uncertain future especially if the hardware vendor has ended support for it. But as always, ILFS has got you covered.
You can use one of these free software to backup device drivers. All these software let you backup all the device drivers that are installed on your old PC and you can take them to new PC. Problem Solved!
Conclusion
If you have been Windows XP since last many years, you surely would have lot of stuff on your PC that you’ll need to migrate. Thankfully, this guide should help you in getting all the things in order.
And of course, your favorite Tech Blog is always there to help. So get going, and get upgrading!
Image Courtesy: Sean MacEntee via Flickr.
