This article explains a simple procedure to transfer playlists from Apple Music to Spotify. There are almost a dozen online music streaming services available in the market these days. And, because of various reasons, we might have to move from one service to another. But during the transition, we left all our music collection behind. Then, we have to build a new music collection on the new service from the group up. First, this is frustrating, and seconds, it takes a lot of time.
TuneMyMusic is a free music transfer service that supports all the popular music streaming platforms such as Apple Music, Spotify, Pandora, Deezer, Google Play Music, YouTube Music, Tidal, and more. With this service, you easily transfer all or select music collection from one service to another. You can use it to transfer your Apple Music collection to Spotify. Here, I provided a step by step guide which you can follow to transfer your music.
Also read: How to Transfer Amazon Music Playlist to Spotify?
Transfer Playlists from Apple Music to Spotify
The process of transferring playlists from Apple Music to Spotify is very simple. All you have to do is visit TuneMyMusic website follow four simple steps. This website doesn’t require to create an account to use the service. You can directly select the services and initiate the transfer.
Step 1: Select the Source

The 1st step is to select the source from where you can to copy the playlist which is Apple Music in this case. This step gives you a list of all the supported services, tap the Apple Music icon from the list. Doing this prompt you to an Apple Music login screen. Log in with your Apple ID there and give this website the permission to access your music library.
Step 2: Select the Playlists
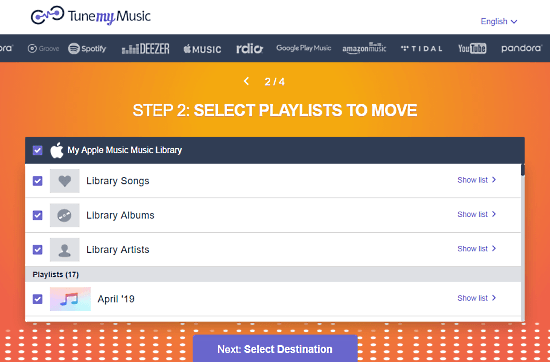
In step 2, this website list all your Apple Music library on the screen. It shows the library and playlists separately. You can tap on any collection to see the full list of songs in that collection. Here, select the playlists which you want to transfer and click the “Next” button. You can also transfer the whole library if you want.
Step 3: Select the Destination

The 3rd step asks you to select a destination where you want to transfer the playlists, Spotify in this particular case. So, click the Spotify icon from the available services. This opens Spotify login screen in a new window. Now, log in with your Spotify account where you want to transfer the collection.
Step 4: Verify & Transfer
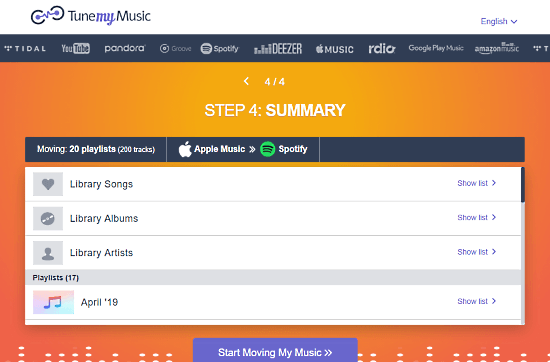
Once you log in with the Spotify, this website takes you to the last step where it shows you a summary of the transfer. Here, you can verify your selection before initiating the transfer. If you want to change something, you can go to the preview steps and makes the desired changes. Once everything is fine, click the “Start Moving My Music” button present on the bottom of the screen to initiate the transfer.
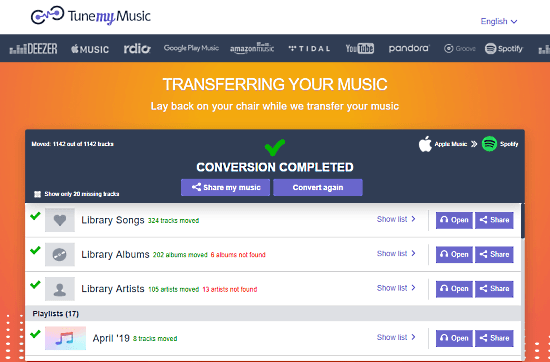
Depending on the size of your music collection, it takes a few minutes to complete the transfer. Since you are transferring music between two different services so there can be some songs which might not available on the other service. This website mentioned such songs in the transfer and you can get a full list of that as well. Once the transfer is complete, you can open these playlists on your Spotify and can also share them online either by link or directly on social media.
Move your music with TuneMyMusic here.
Closing Words:
This is how, you can transfer all/any of your music library and playlists from Apple Music to Spotify and it only takes a few minutes. Give this simple-to-use music transfer website a try and do share your thoughts with us in the comments.