There are countless goodies that make the latest and freshest Windows 10 arguably the most exciting Windows release ever. And modern apps are one of the most important of those features. These are an essential part of the core Windows 10 user experience, and include features like live tiles, real-time notifications, and importantly, the ability to run in the background. This ensures that these apps can work even when you’re not using them. However, as incredible as this feature is, it can often lead to the increased resource usage (e.g. battery).
Not an issue, as Windows 10 easily lets you specify which of the modern (supported) apps can keep working in the background.

How To Choose Apps That Can Run In Background In Windows 10?
Configuring which of the modern apps can run in the background is a piece of cake. However, it’s important to note that not all apps can run in the background. Only some system apps (e.g. mail, maps) have this functionality, and consequently, can be configured whether to be allowed/denied running in the background. Here’s a step by step tutorial, more than sufficient to see you through the finish line:
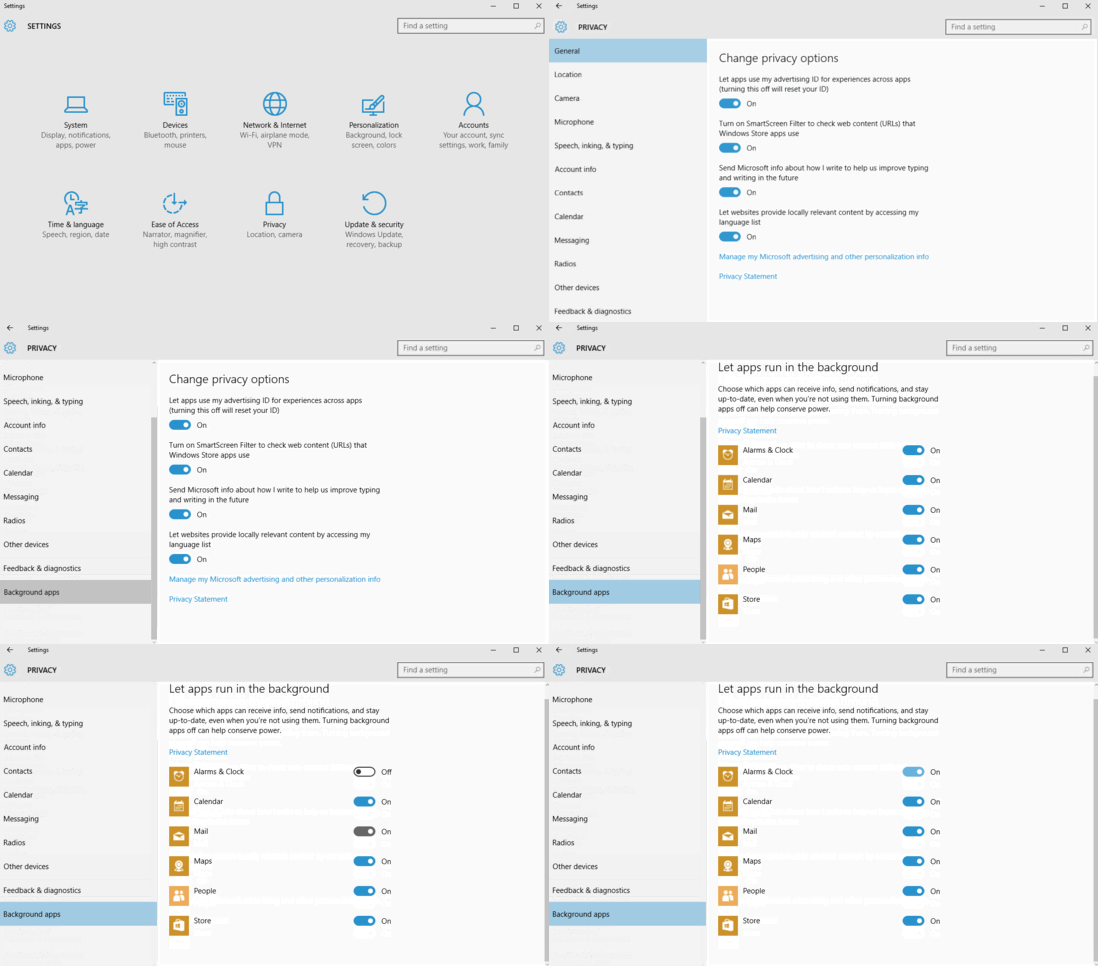
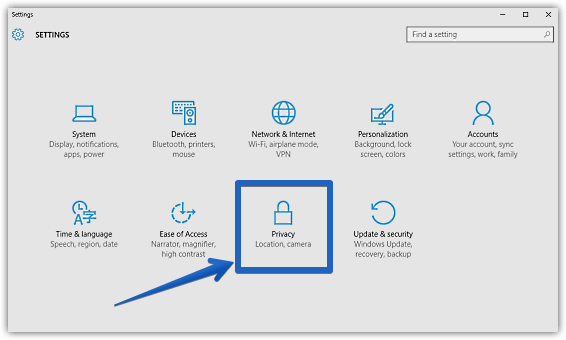
Step 1: Start the modern Settings app (you already know that, right?), and click on the Privacy sub-module.

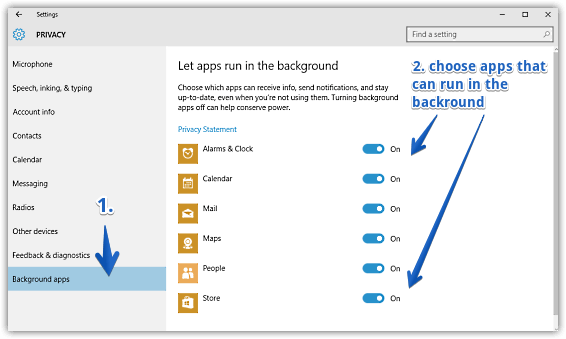
Step 2: The usual listing of relevant options should now be presented in the left pane. Scroll all the way down, and click on Background apps. Now, in the facing right pane, you’ll see a listing of all the apps that can run in the background, under the solitary Let apps run in the background sub-section. To allow/prevent apps from running in the background, simply click the virtual toggle buttons corresponding to them On/Off accordingly. Take a look at the screen grab:

You Might Like: How To Enable Developer Mode In Windows 10?
Wrapping Stuff Up
The ability to granularly choose the apps that can/can’t run in the background is a simple yet useful feature of Windows 10.