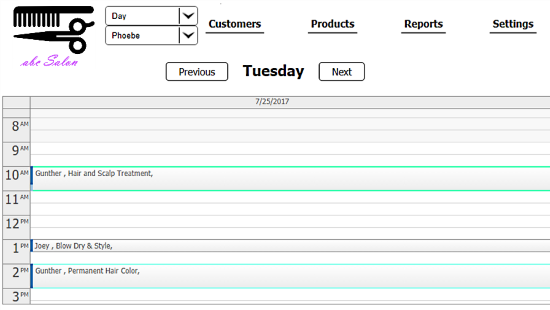
SalonERP is a small web-based free salon management software for Windows. Using this salon software, you can easily manage daily schedule and payments of a salon. The main page of SalonERP is a calendar. It shows an overview of the appointments and can be easily switched between weekly and daily overview. You can easily assign appointments to employees, and then appointments can be easily sorted according to employee name.
You can easily manage Customers and Products in this salon management software. For Customers, you just need to enter basic info, such as name, contact, etc. A product can be added along with its cost and duration. You can also see all the salon appointments in the calendar with the expected time duration.
You can easily add, cancel, or reschedule any appointment. Once the service has been provided to customer, it generates an invoice after payment is added. This salon manager software has a basic payment management system and keeps record of all payments. With SalonERP, you can create reports, such as revenue report, best customer report, best product report, etc.
You can also use your salon’s own logo in SalonERP.
Check out these Free Websites To Try On Virtual Hairstyles, which can come handy in your salon.
How To Install And Run This Salon Management Software?
Download SalonERP from here. SalonERP is a web-based salon management software, which requires a server to run. So, you have to create a local server on your Windows PC to run SalonERP. For this, you can use any of these Free Web Server Software For Windows. I used XAMPP to run SalonERP during testing. Carry out the following steps:
- Download and extract the ZIP file of SalonERP.
- Copy the extracted folder.
- Go to XAMPP server, and run the Apache and MySQL modules.
- Now, go to the following folder location: My Computer > C Drive > xampp > htdocs and paste the extracted folder there.
- Open any browser, and in the address bar, type: “localhost/(name of extracted folder that you copied to HTDOCS folder)”, and press Enter.
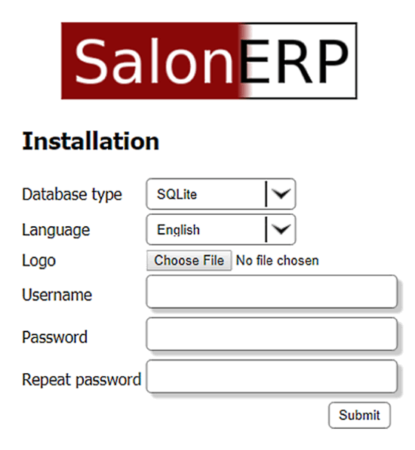
This will display the installation page, where you have to create a login ID. Select SQLite under Database type and select your language. It supports English and Dutch language, and you can also upload a logo of your salon here. Create a username and password, and click on submit.
Features of this Salon Management Software:
The main page of this salon management software has a calendar, that will show an overview of appointments. You can change the calendar overview between weekly overview and daily overview. You can easily track the schedule of an employee by selecting that employee in the Employees drop-down.
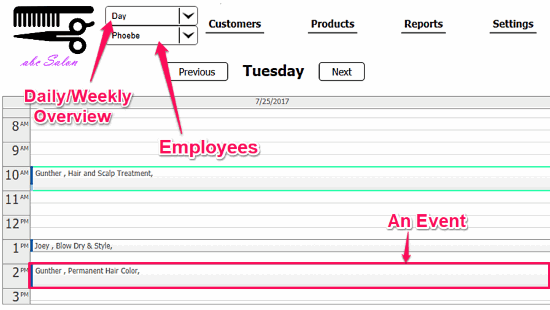
Along those dropdowns, there are four main buttons in this salon management software: Customers, Products, Reports, and Settings.
Customers:
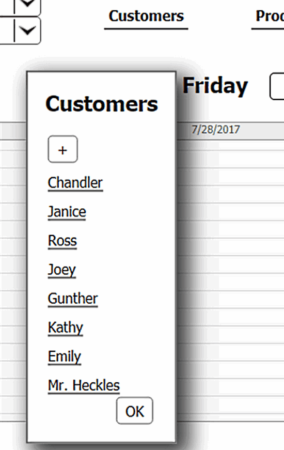
Clicking on Customers will open a tab that contains the list of your customers. You can add new customers by clicking on the “+” at the top of the list. You have following fields for adding a new customer: Name, Last Name, Comment, Address, and Telephone. Once you add a customer, you can edit the details by clicking on the name.
Products:
Products tab contains the names of the products that your salon offers. You can easily add new products by clicking on the “+” at the top of the list. You have following fields for adding a new product: Name, Duration, Price, Color, and Category. The color you select here will be shown on the main calendar for the product. You can manage all your products in the Products tab.
Reports:
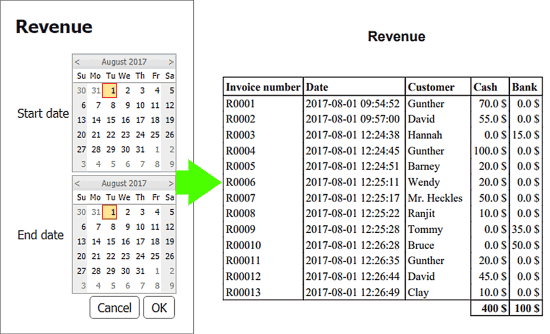
This hair salon software can generate various type of reports. You can generate a revenue report for selected time period. You can also create reports of best products, best customers, and products per customer. Below is an example of Revenue Report.
Settings:
Settings tab contains all the details about the salon. Here, you can manage salon name, address, website, etc., along with the opening and closing time. It has five themes that change the look of events on the calendar.
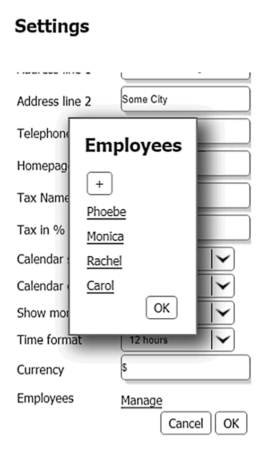
At the end of Settings tab, there is a Manage employees option. You can add and manage your employees from there.
How To Add An Event (Appointment)?
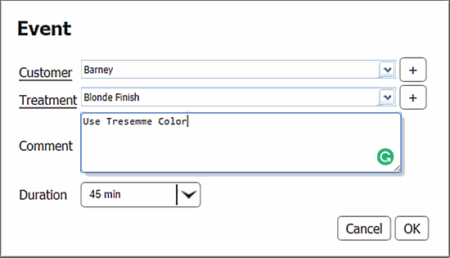
Creating an event is very easy in this salon management software. You can create an event by selecting an employee from the Employees drop-down. Select a column on the calendar corresponding to the day and time at which you want to create an event. An event dialog will pop up; select the customer from the Customer list and Treatment from the Product list. Duration will be automatically set corresponding to the selected treatment; you can also change the duration manually. There is a comment box, where you can add a comment regarding that event in this salon software.
Clicking on an already added event will bring the options to cancel event, new time, and pay. You can reschedule an event to a new time, can cancel an event permanently, and can add payment under Pay option from there. With all these appointment management features, calling it a salon appointment software wouldn’t be wrong.
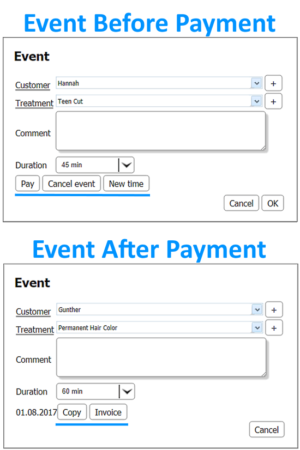
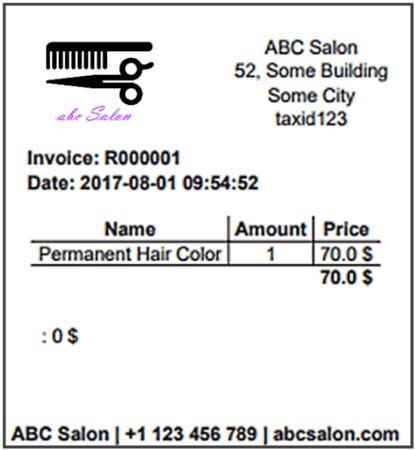
Once payment is added, you can print the invoice for an event by clicking on Invoice button. Here is an invoice sample attached below.
Closing Words
SalonERP is a very good salon management software. You can easily schedule events and keep track of products and payments. It has all the basic functionality and a simple user-friendly design, which makes it very easy to use.